Most Common Mistakes Observed While Canyoneering

In a recent ACA meeting, Pro Master Guide Rick Green from Excursions Of Escalante asked Pro Guides, Recreational Leaders, and Canyoneering Veterans the following question:

Can you think of two or three things that you see canyoneers doing on a regular basis that you would consider to be unsafe or inefficient?  All asked were generous enough to give us thoughtful feedback and we appreciate their contributions to this important topic. The following list was compiled, and the ACA presents the “Most Common Mistakes Observed While Canyoneering” list to the canyoneering community. Collectively our goal is to expand all of our knowledge and enhance our experiences together in the canyon.


Here is the list of mistakes in no particular order:

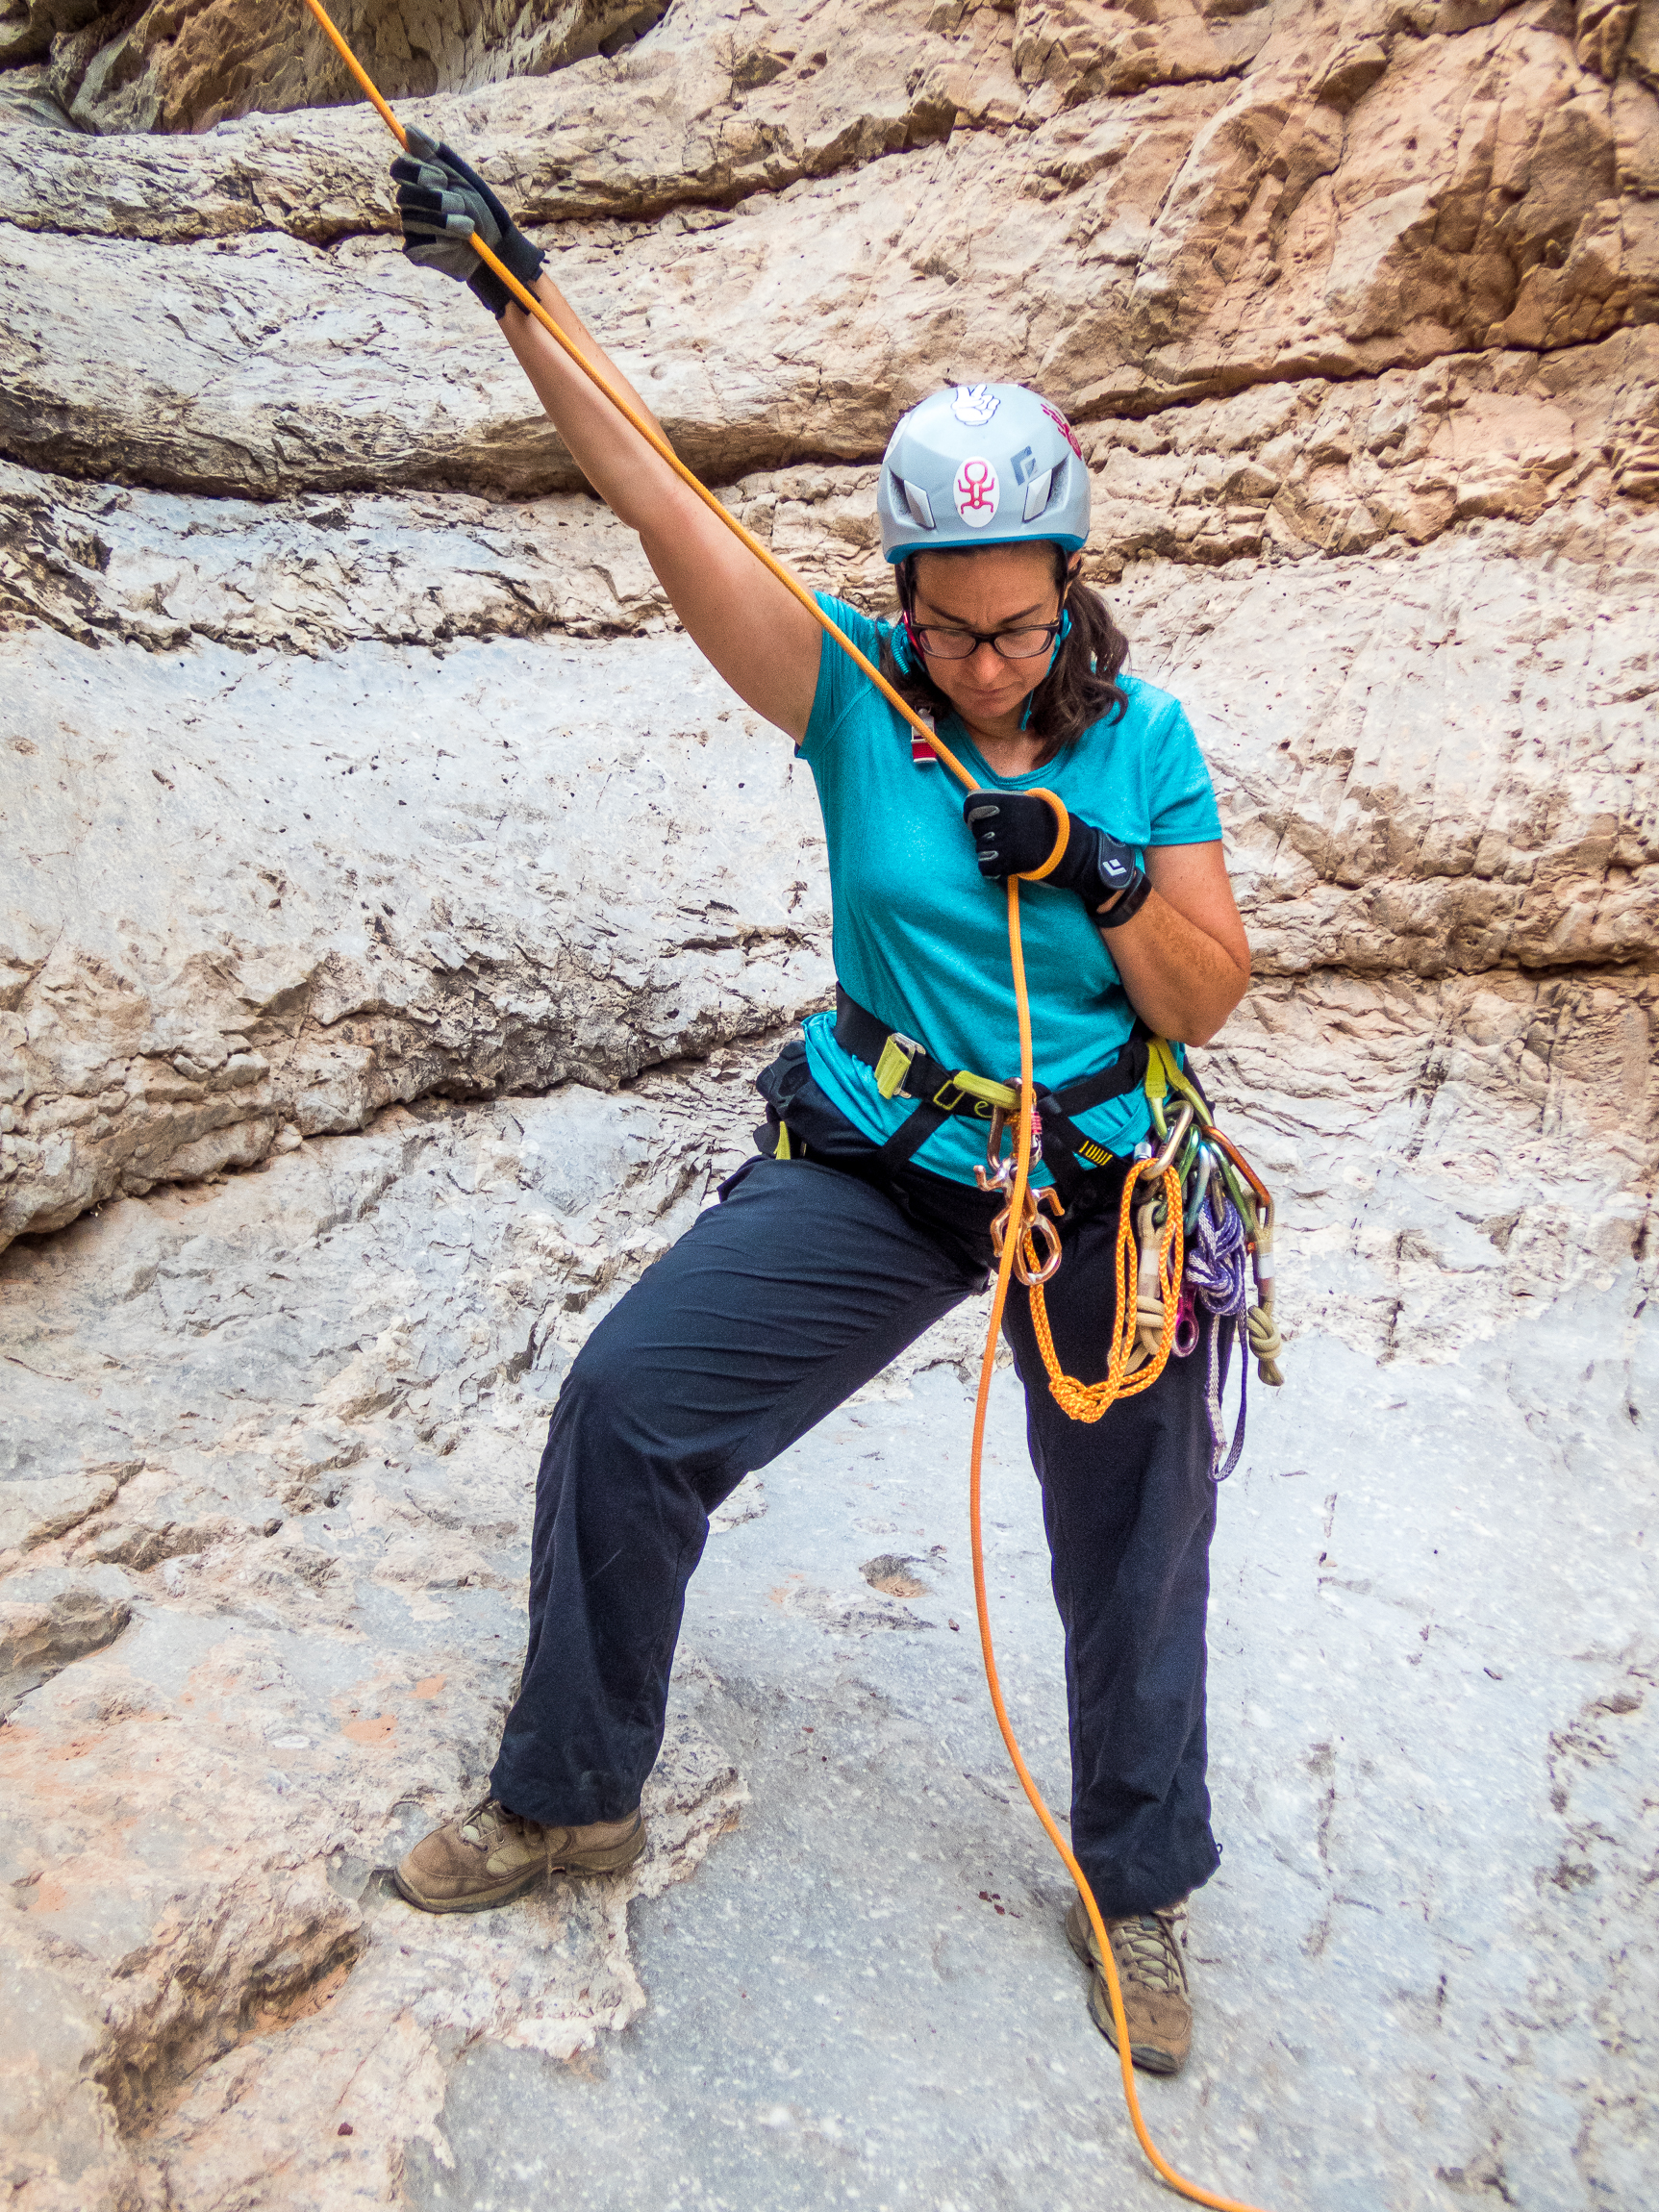
    1. Improper belays. Lack of belays or belaying with poor technique is becoming common. A good belay is incredibly easy to provide and when performed correctly, belay can prevent serious injury or save a life. When done incorrectly, the belayer is at higher risk of falling debris and the rappelled is not really being belayed.
      Bad bottom belay
    Good bottom belay


    1. Talking around stations. Folks are talking around the rappel and belay stations too much. It should be very calm and focused at both stations (rappel/belay) to create an environment optimal for clear and concise communication. Questions, comments or suggestions that are not pertinent to the rappelled or belayer should be asked at a later time. Catching up with friends while waiting is best done in a safe place that will not impede communication between the two stations.
      Less talk and more rigging. Talk about double checking your rigging.


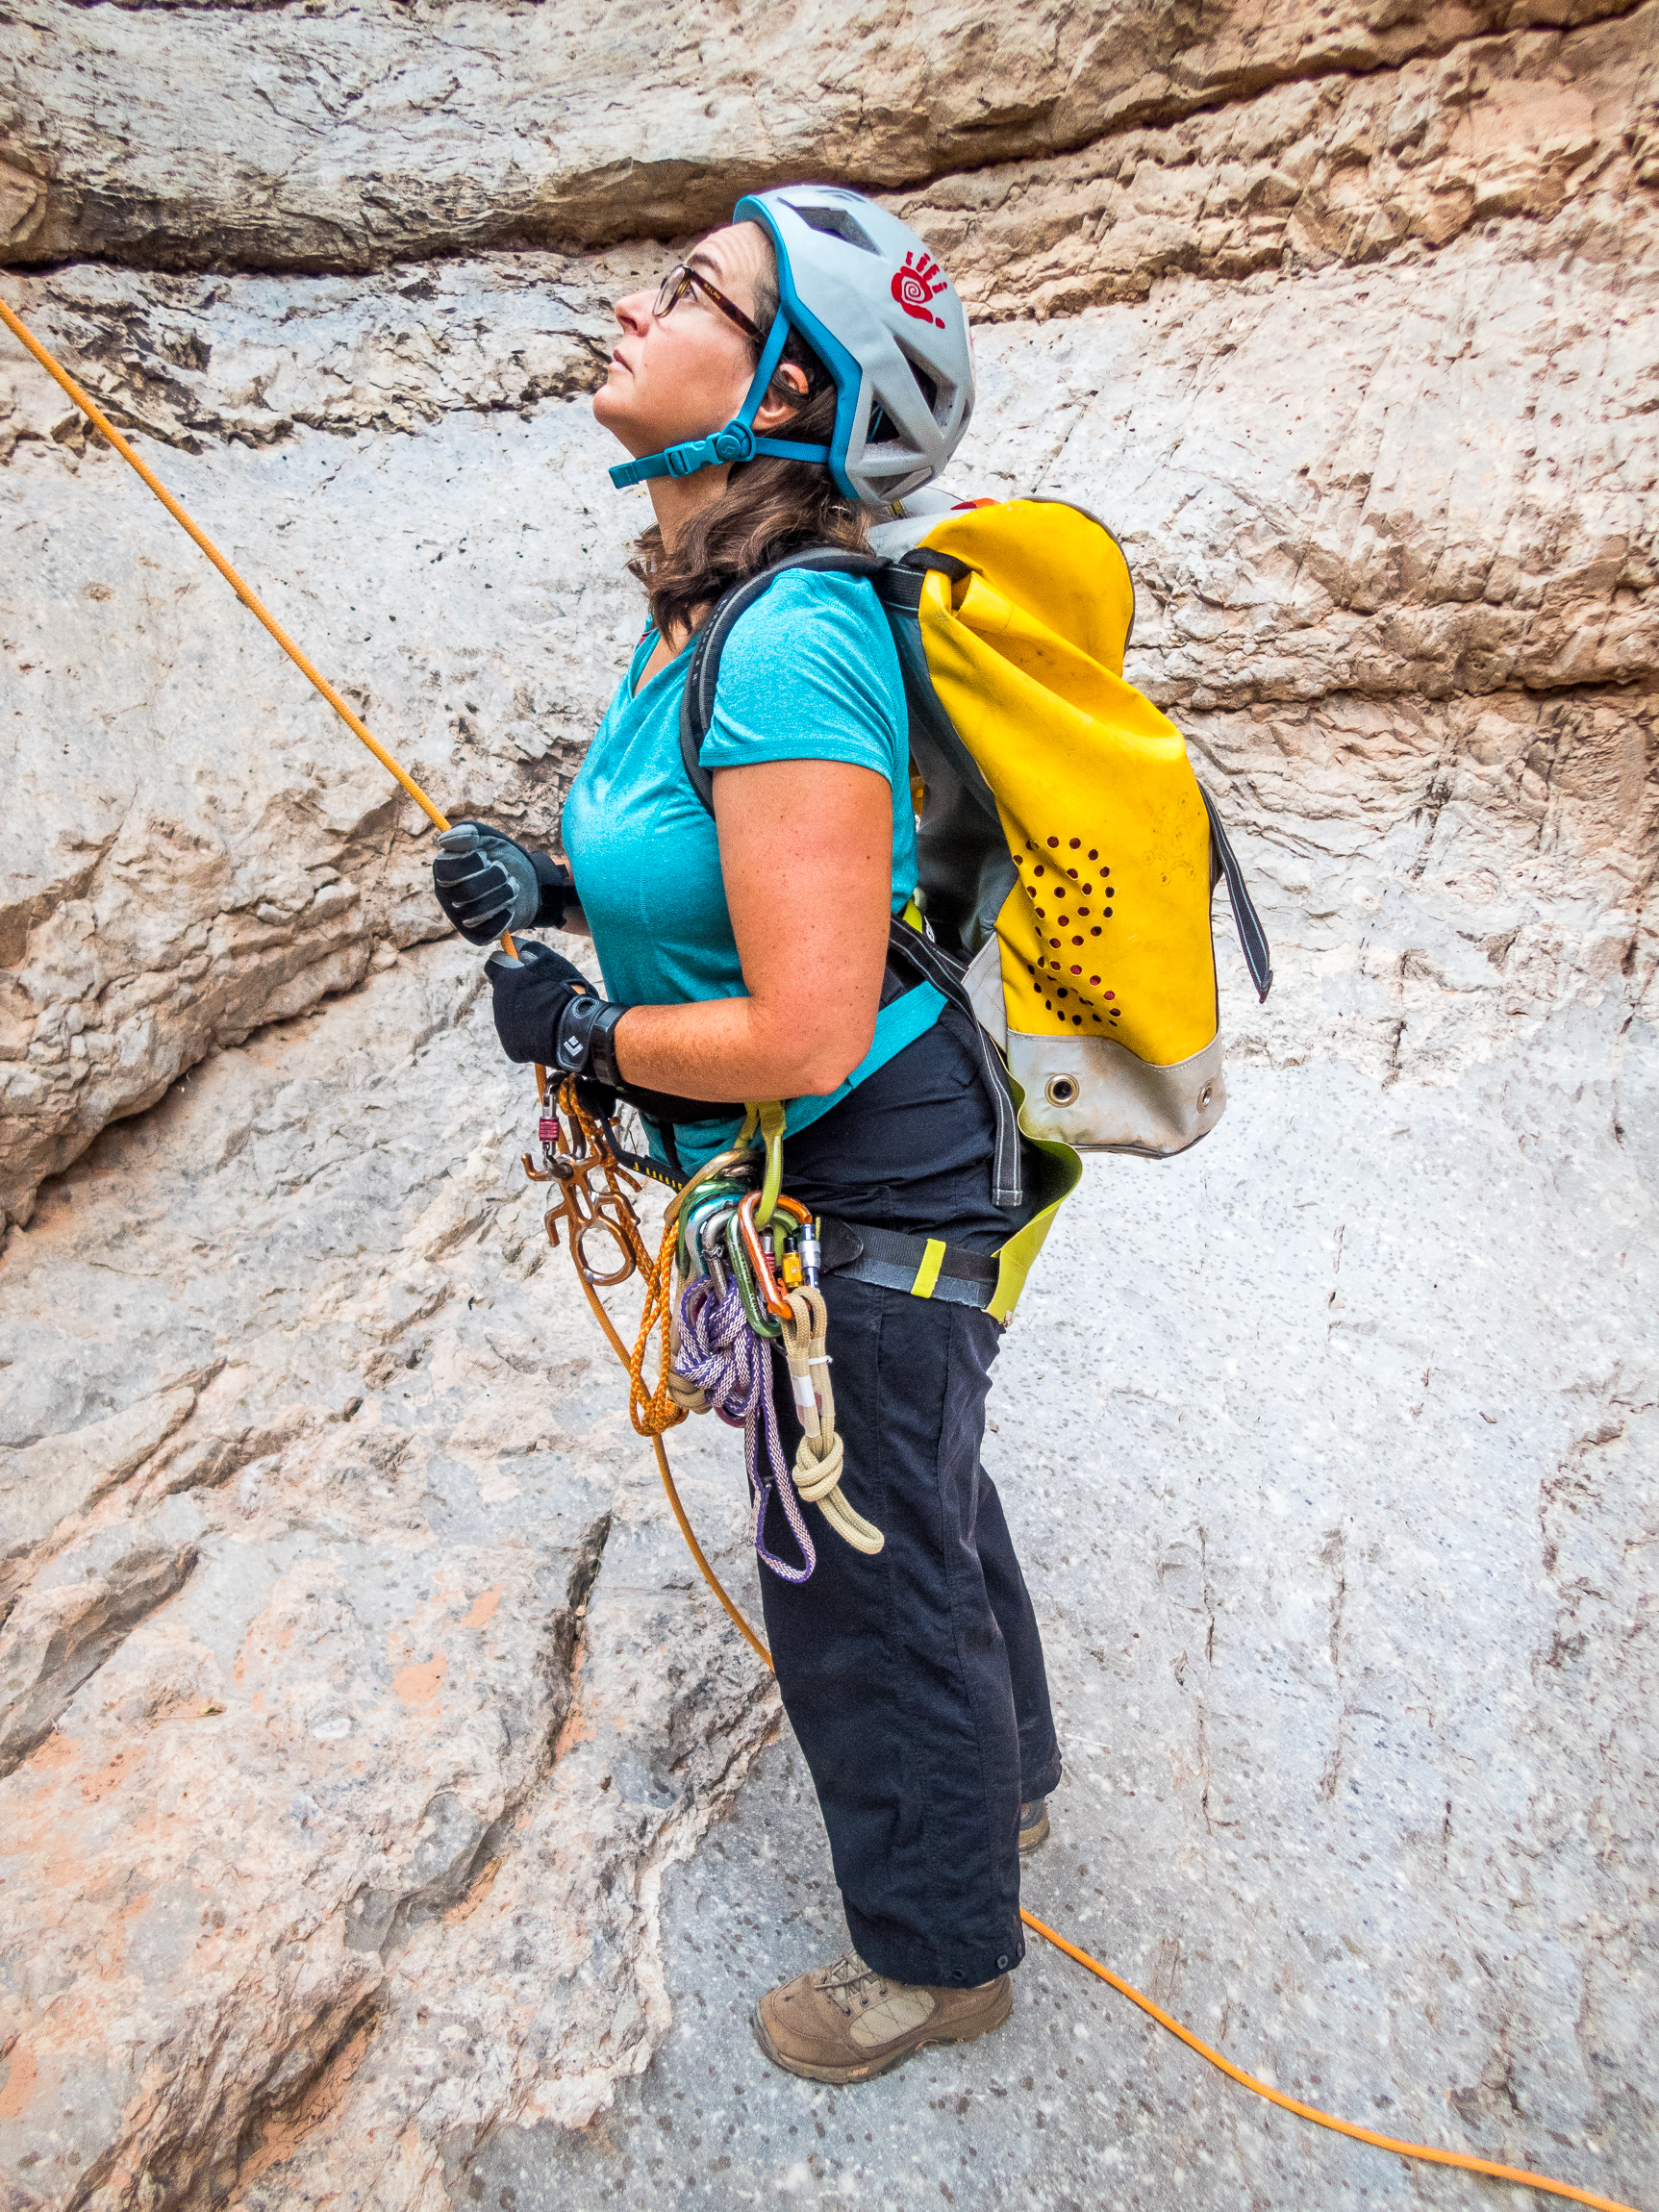
    1. Too much gear. It’s tempting to bring lots of stuff, but if it’s becoming a clutter of unnecessary equipment, it does open the door for potential problems. Loose items can get snagged, jammed, hooked, etc. while down climbing or when on rappel. Also, over reliance on technical gear has the potential to create a false sense of security for yourself and others. Not saying it does but saying it definitely could.
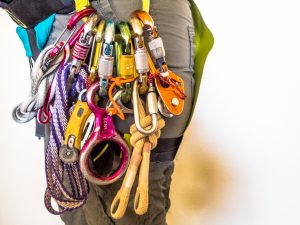
      Can you spot the items that do not belong on your harness gear loop all the time?


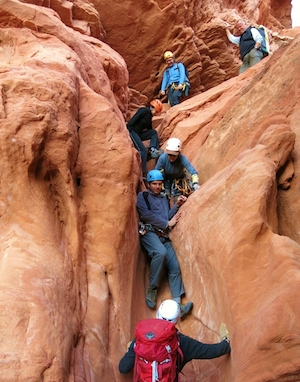
    2. Bad loose rock etiquette. Falling rock is a big risk. People should move around and over loose terrain as a team, aware of each member’s movements. Minimizing hazards by establishing sequencing to get to safety zones should be practiced by the entire group. All loose rocks/materials located by the lead person should be identified and communicated to the group. Climbing above an unaware partner or group can be an extremely dangerous thing to do.
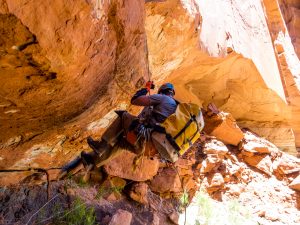
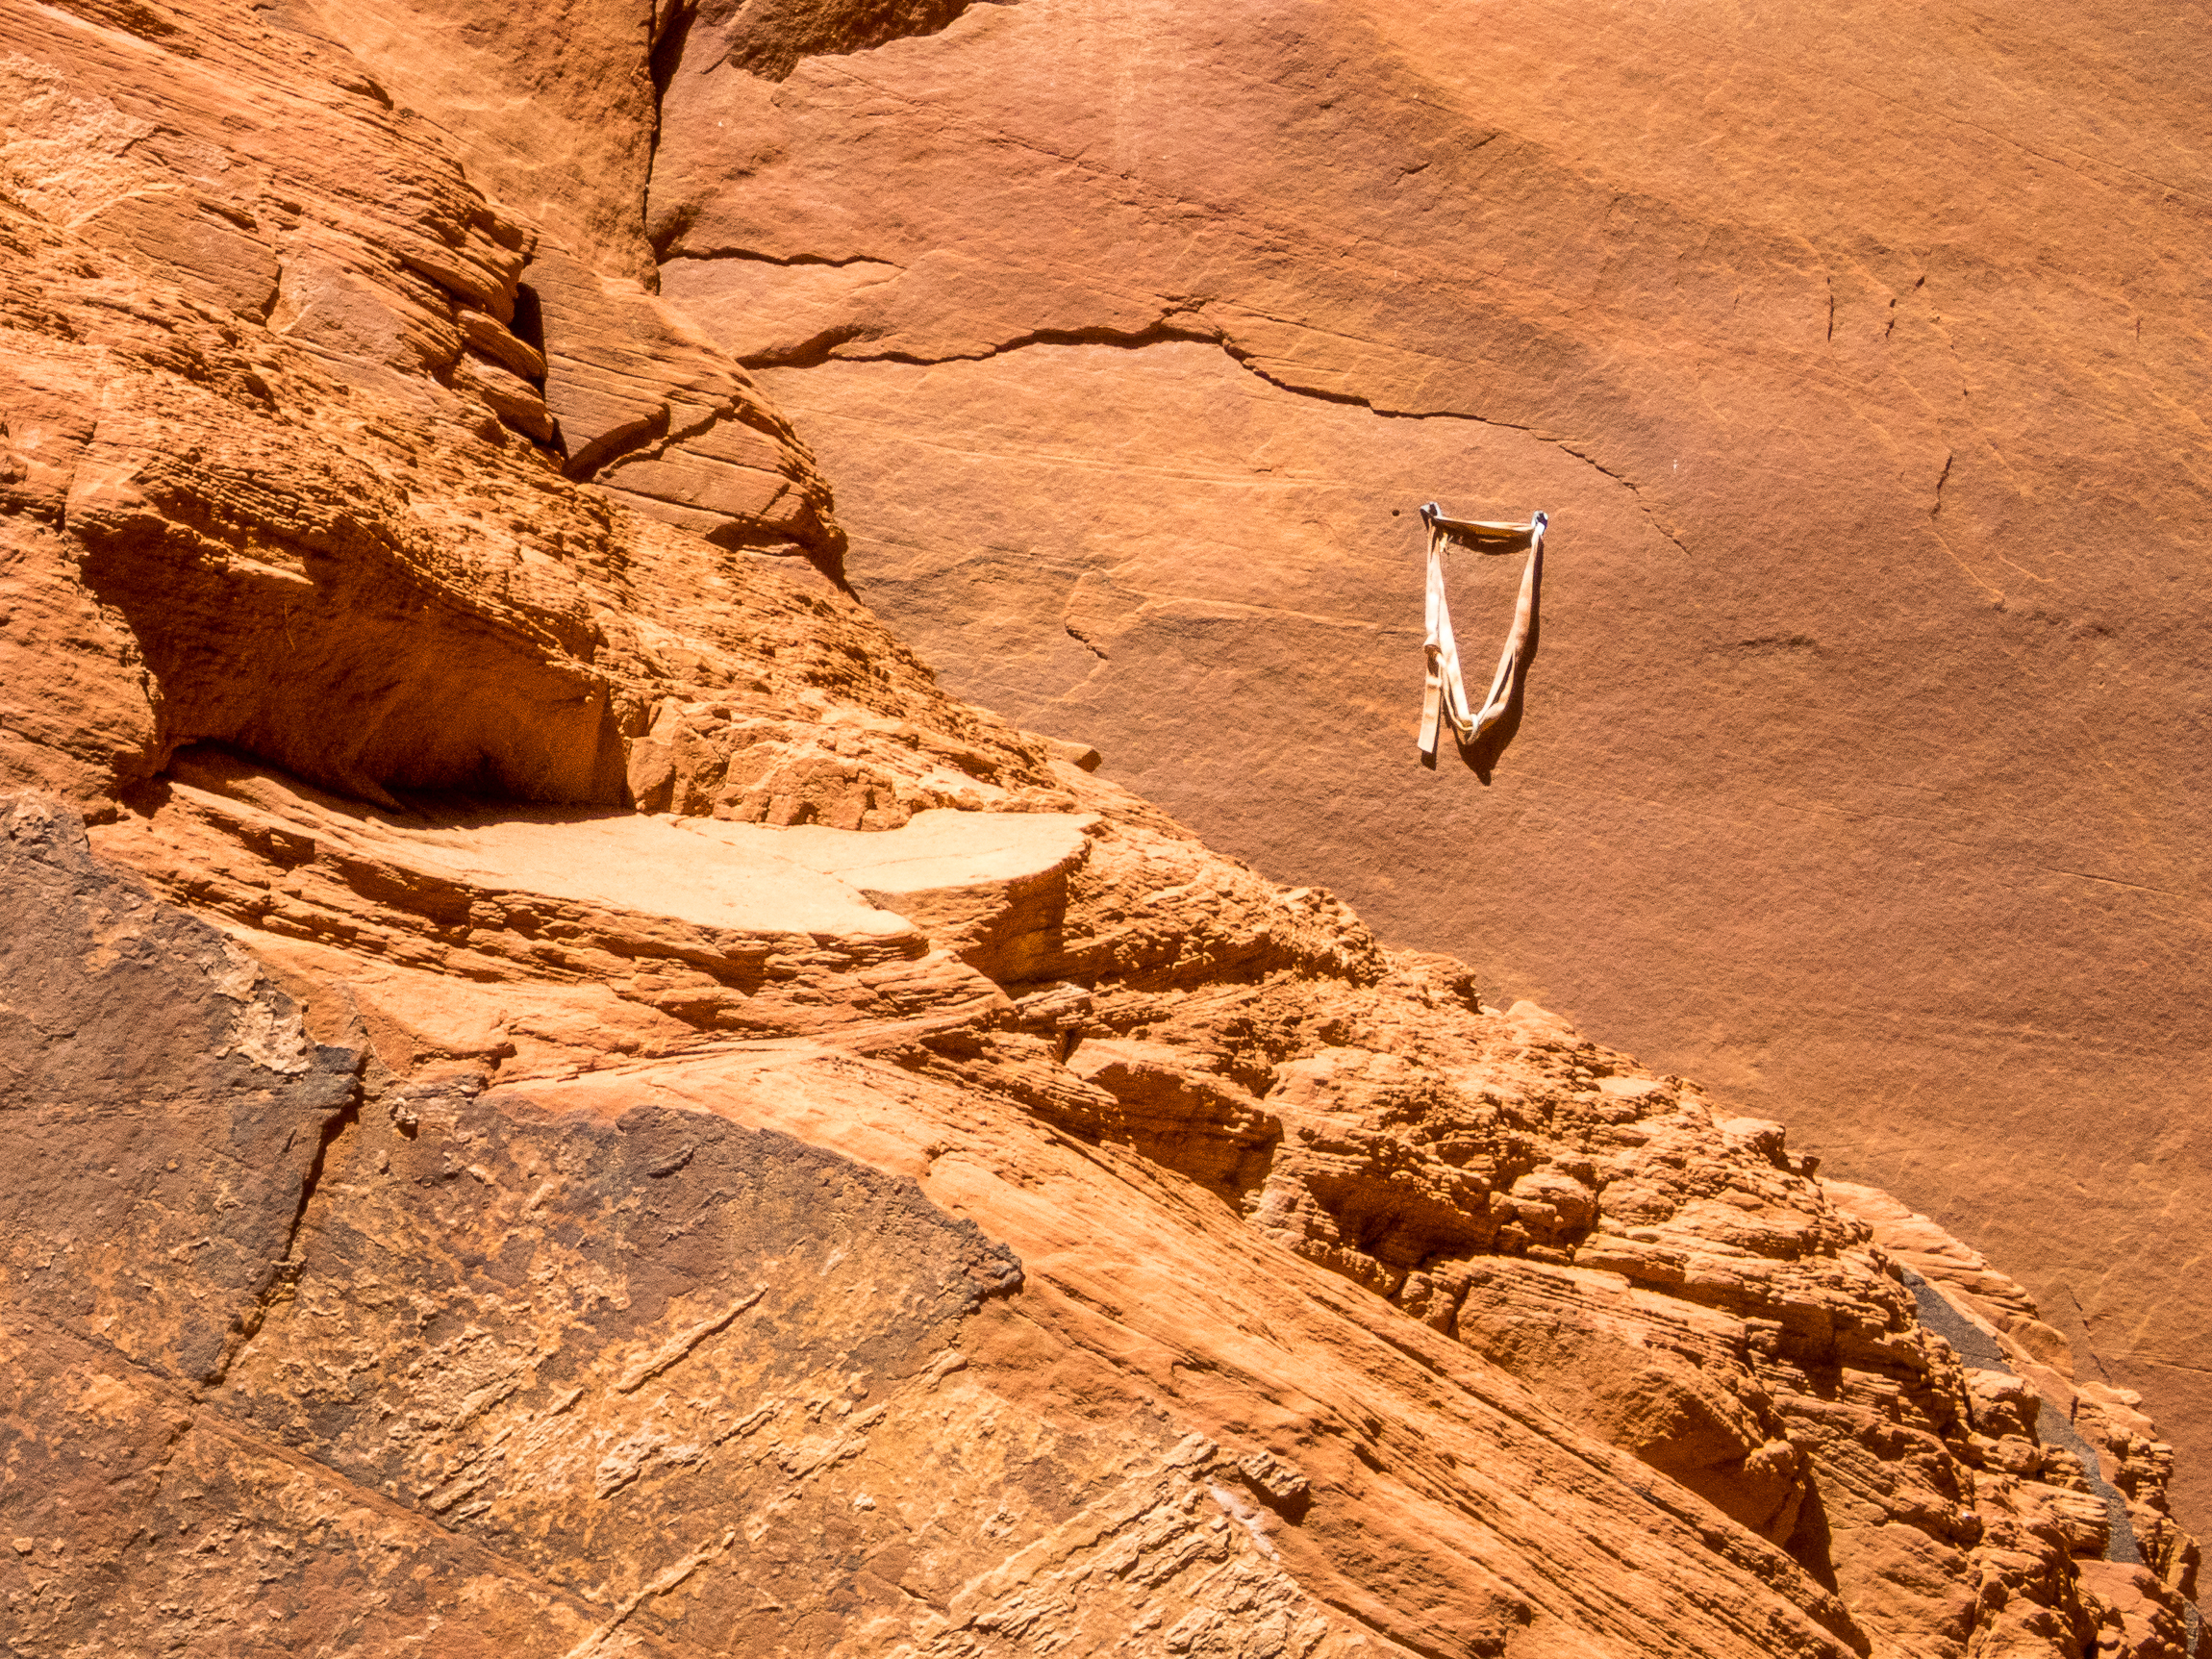
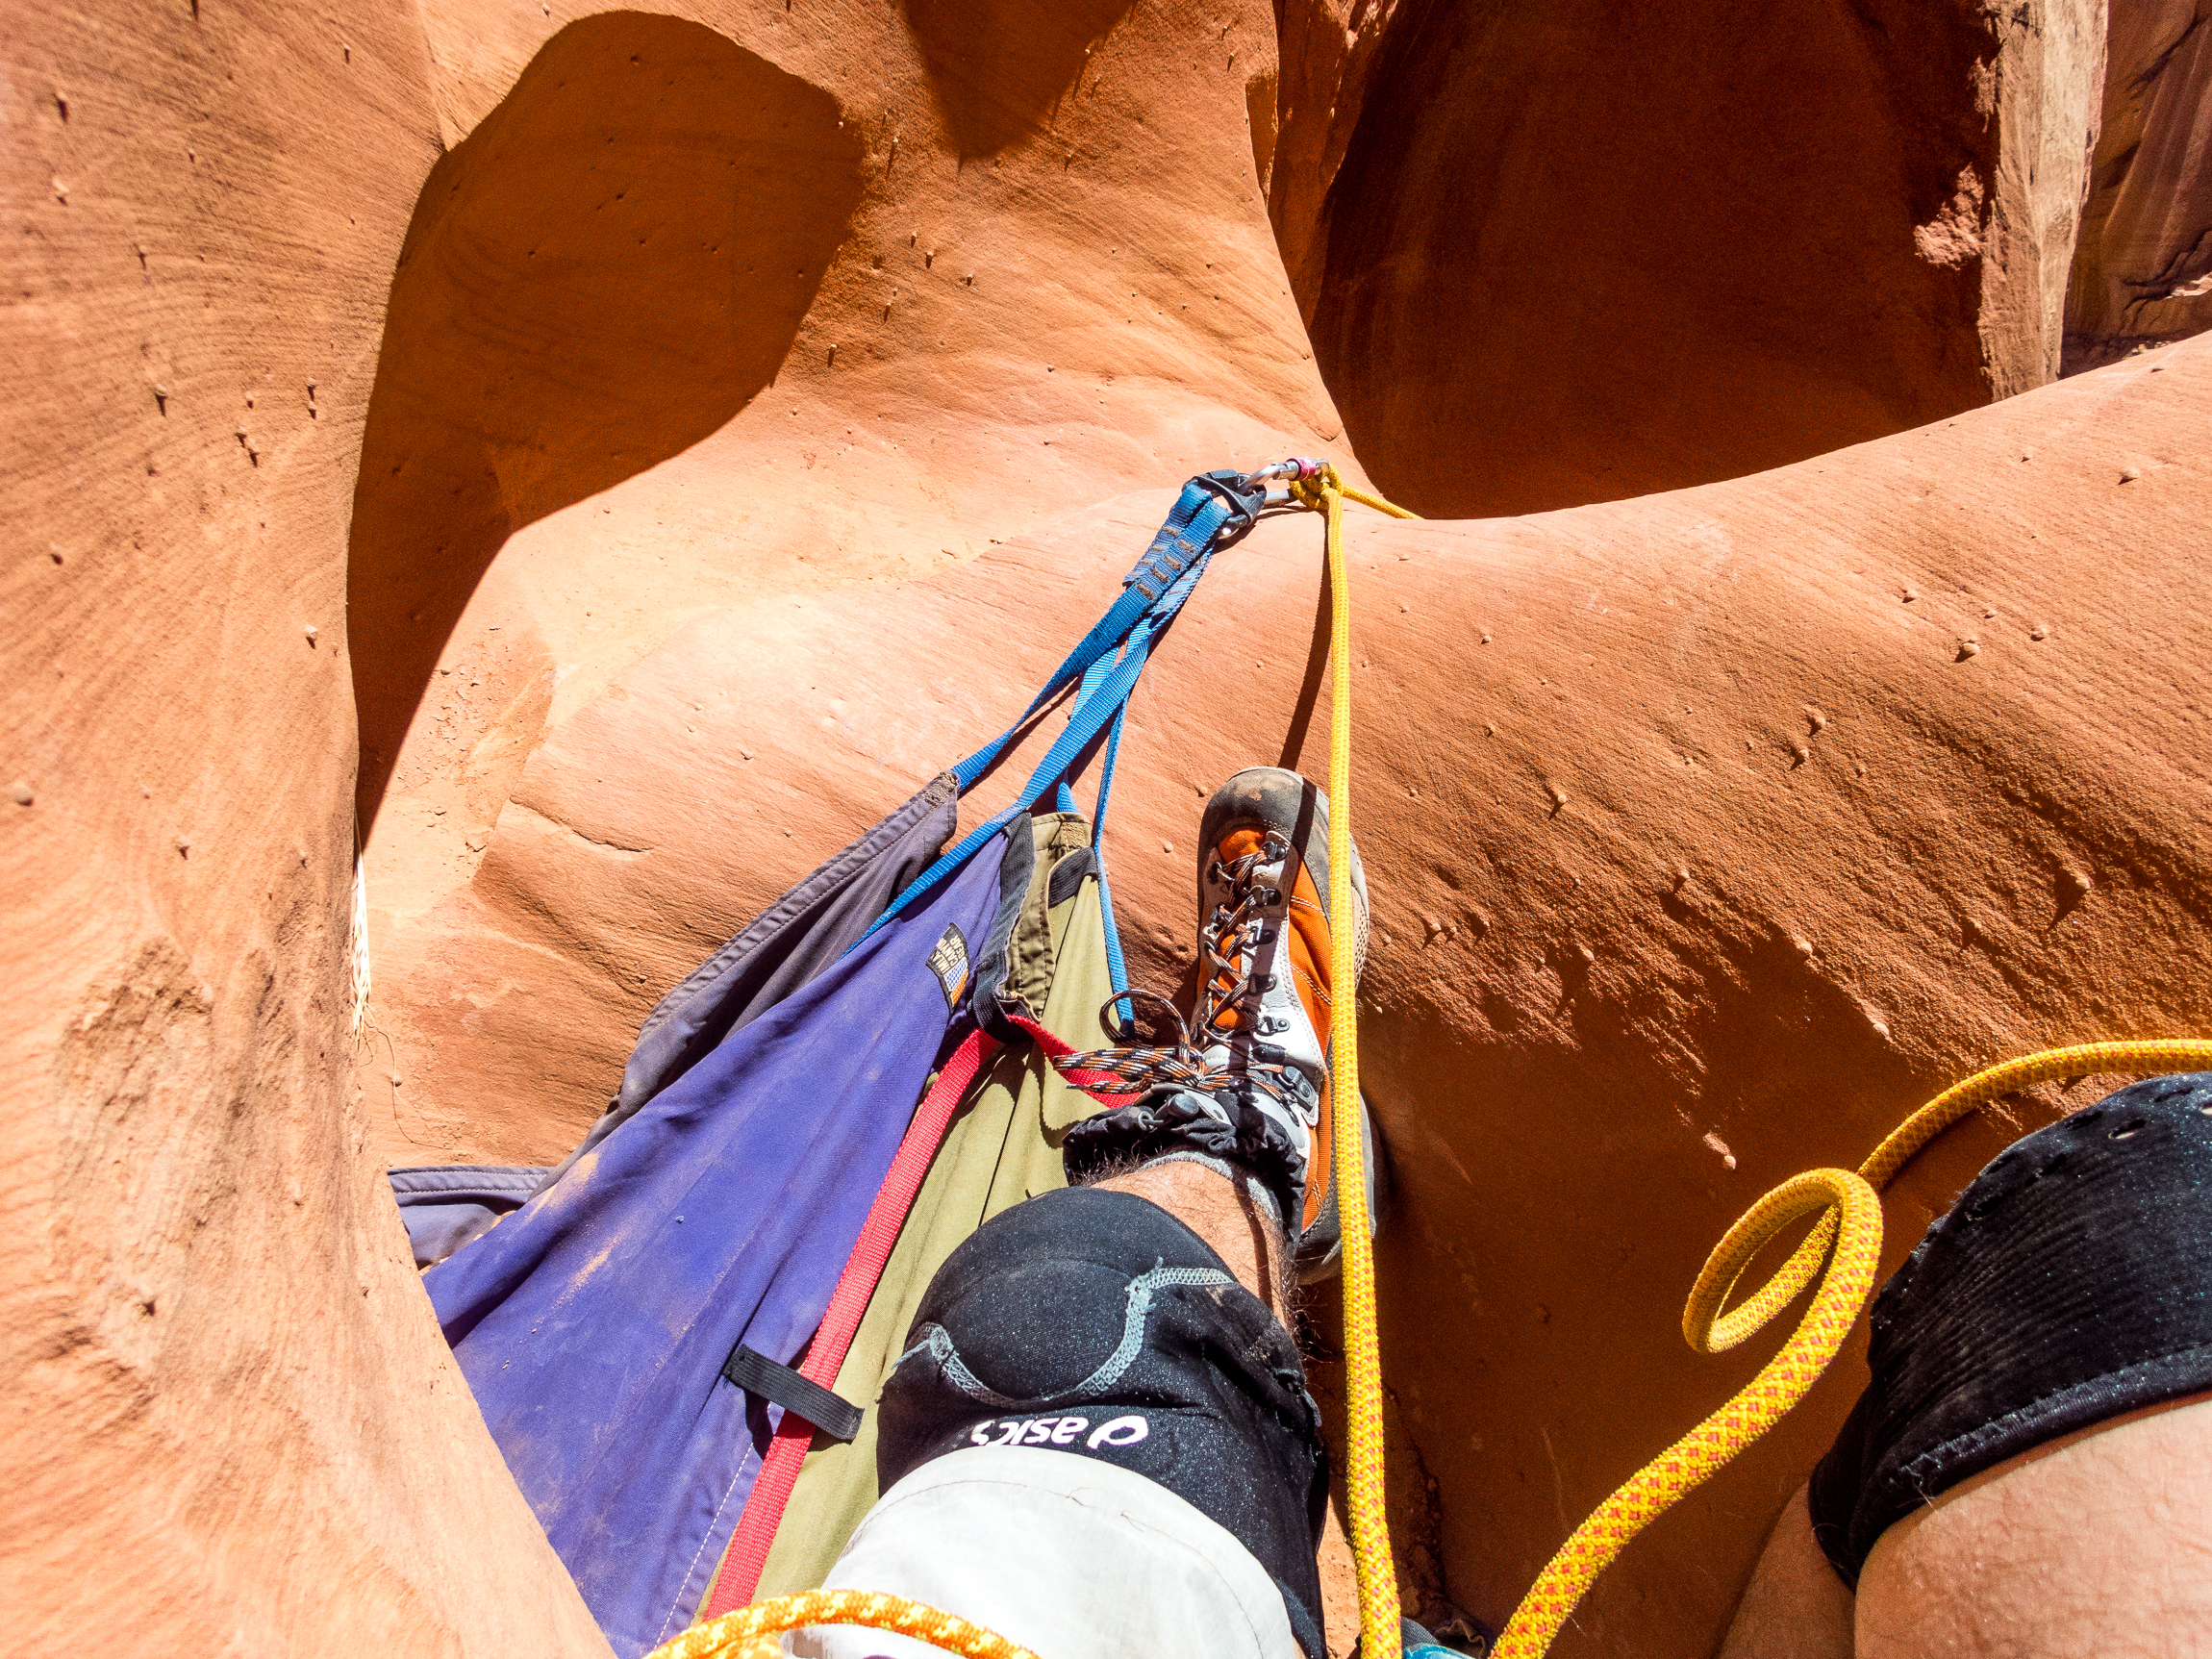
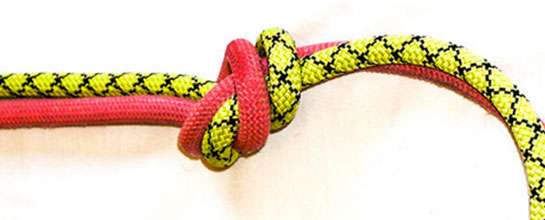
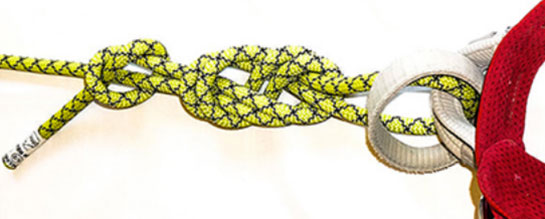
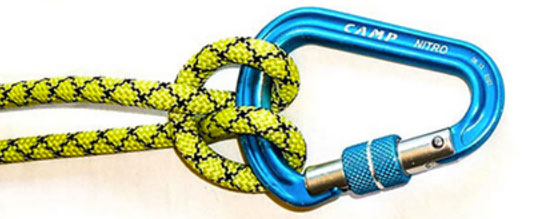
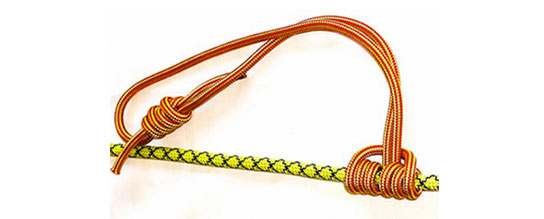
      Team member identifies loose rock, communicates risk, and team identifies safety zone
    3. Improper rigging. Rigging is simple. Why are folks struggling with this? Rig it releasable, ensure it’s retrievable . . . go to work. If you are into “ghosting” or static rigging, stick with experienced partners or have a plan to lower folks down when some gear gets jammed.
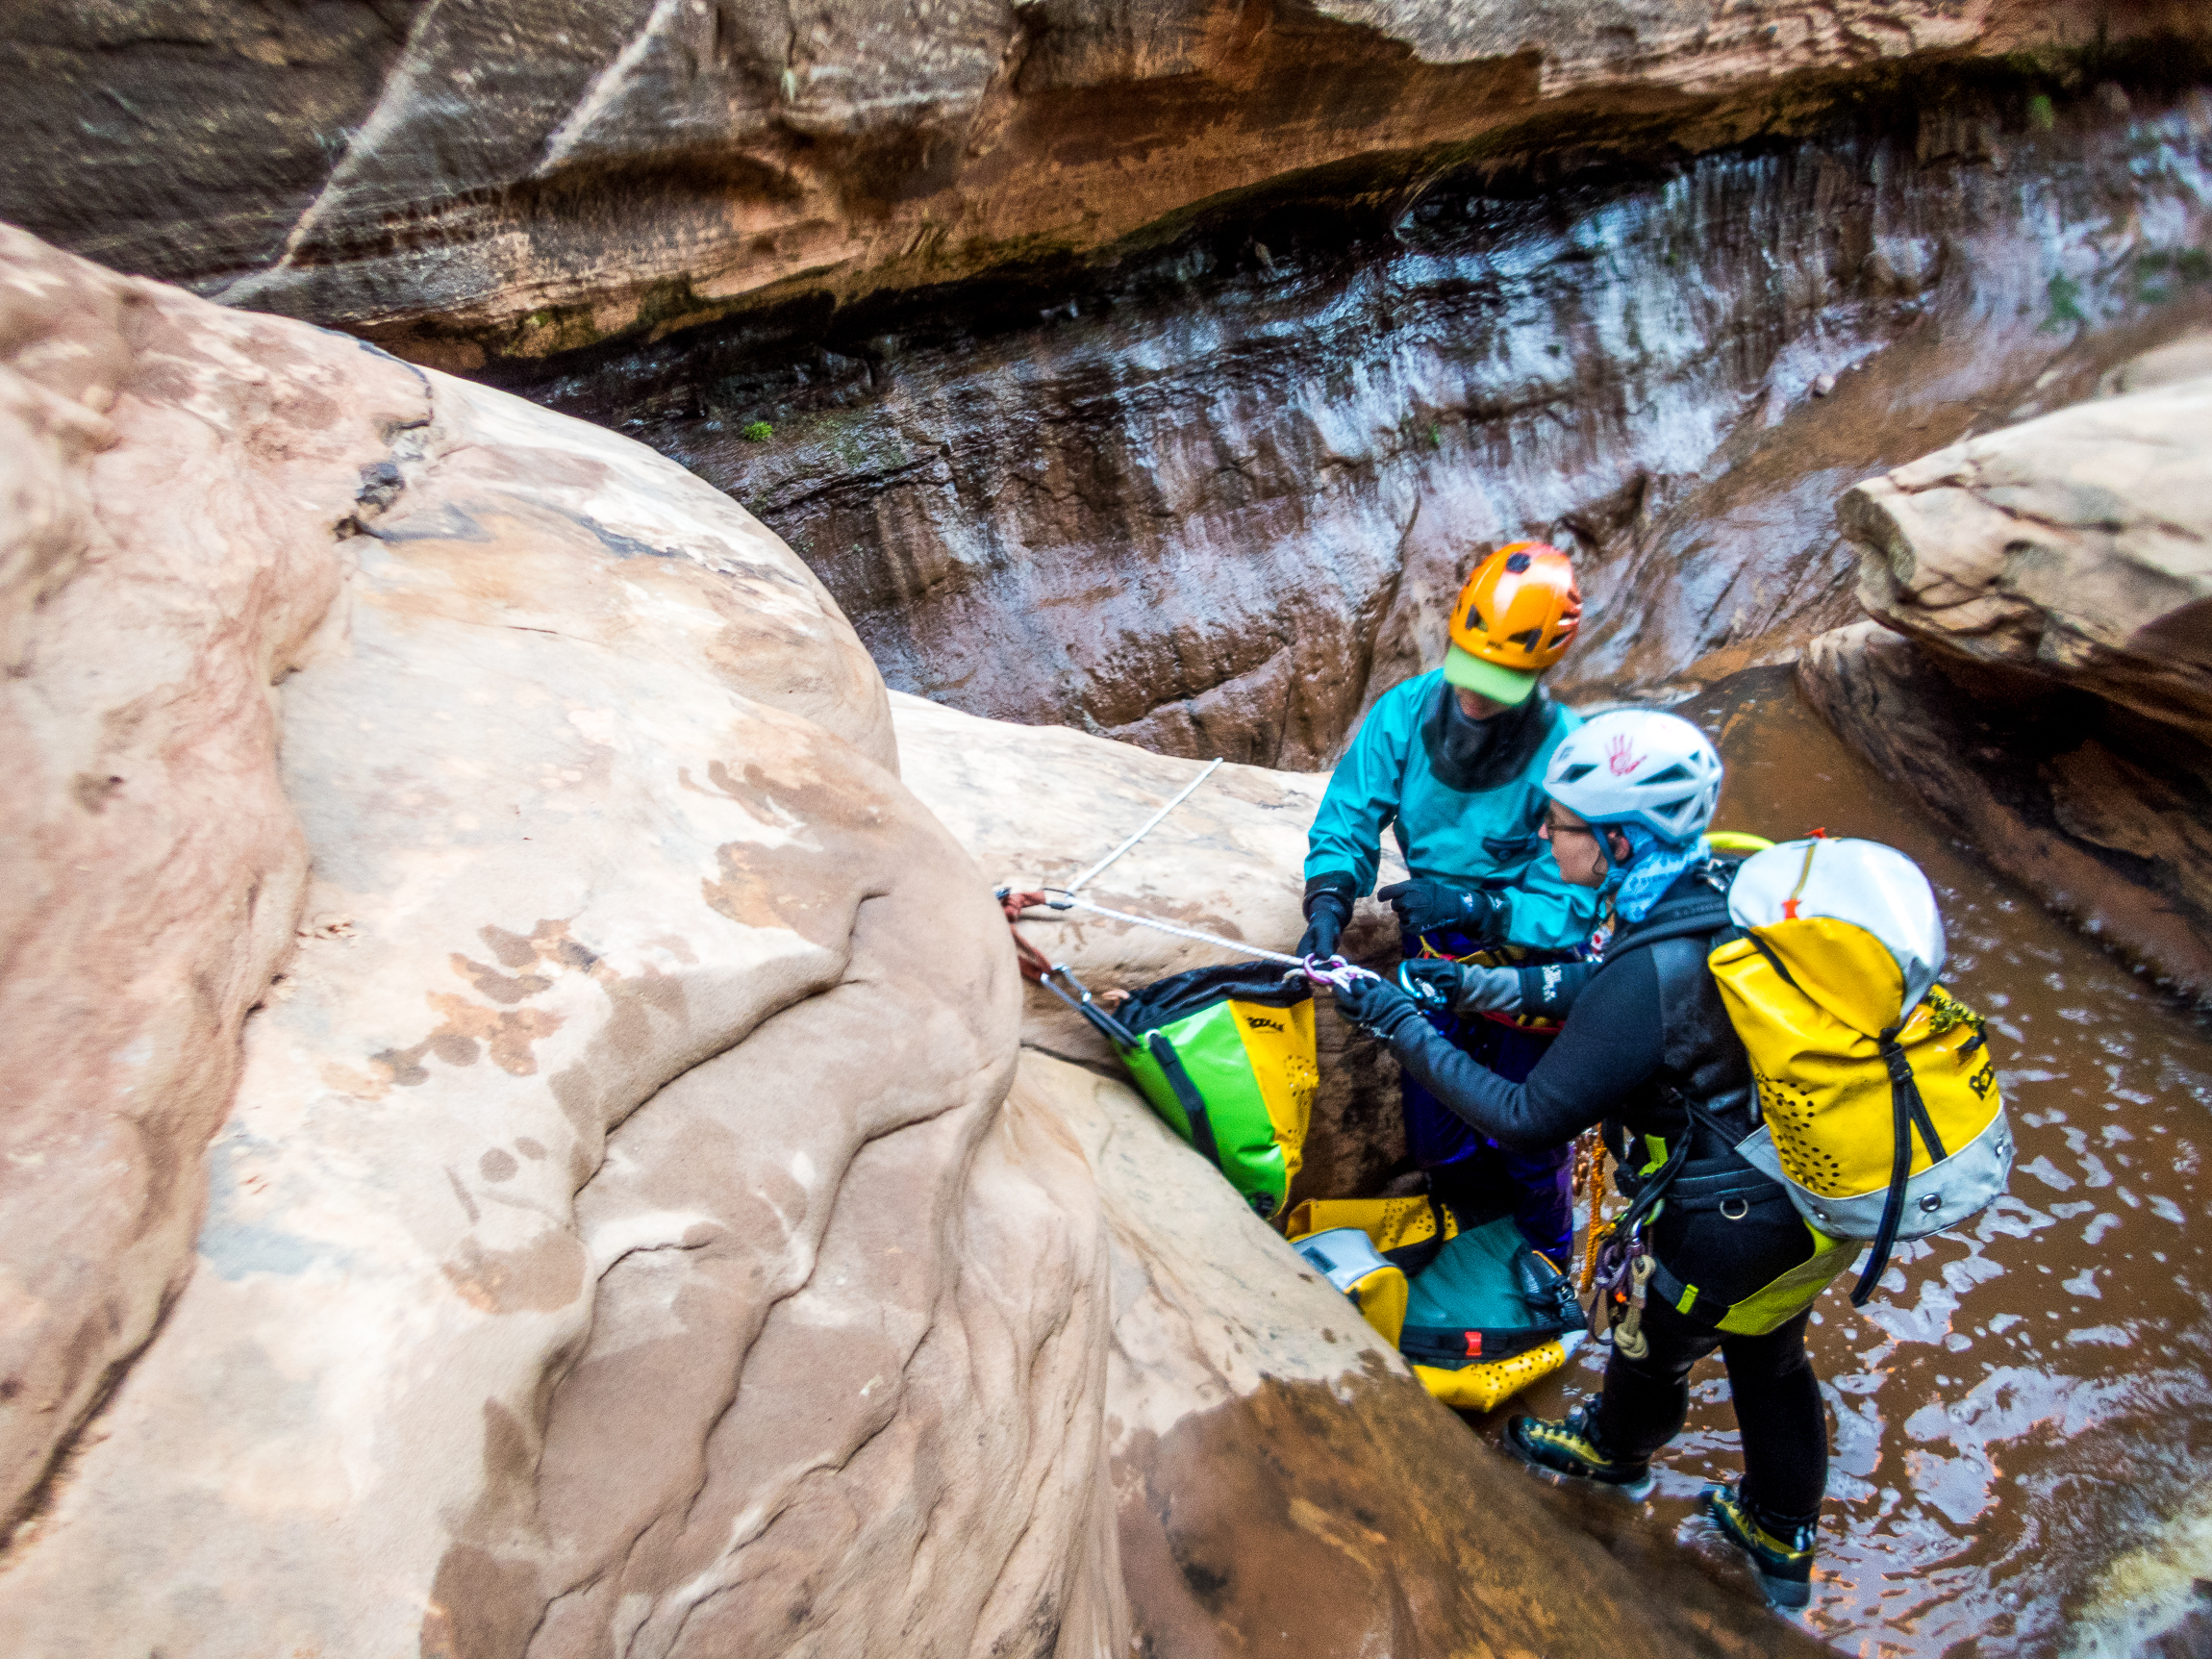
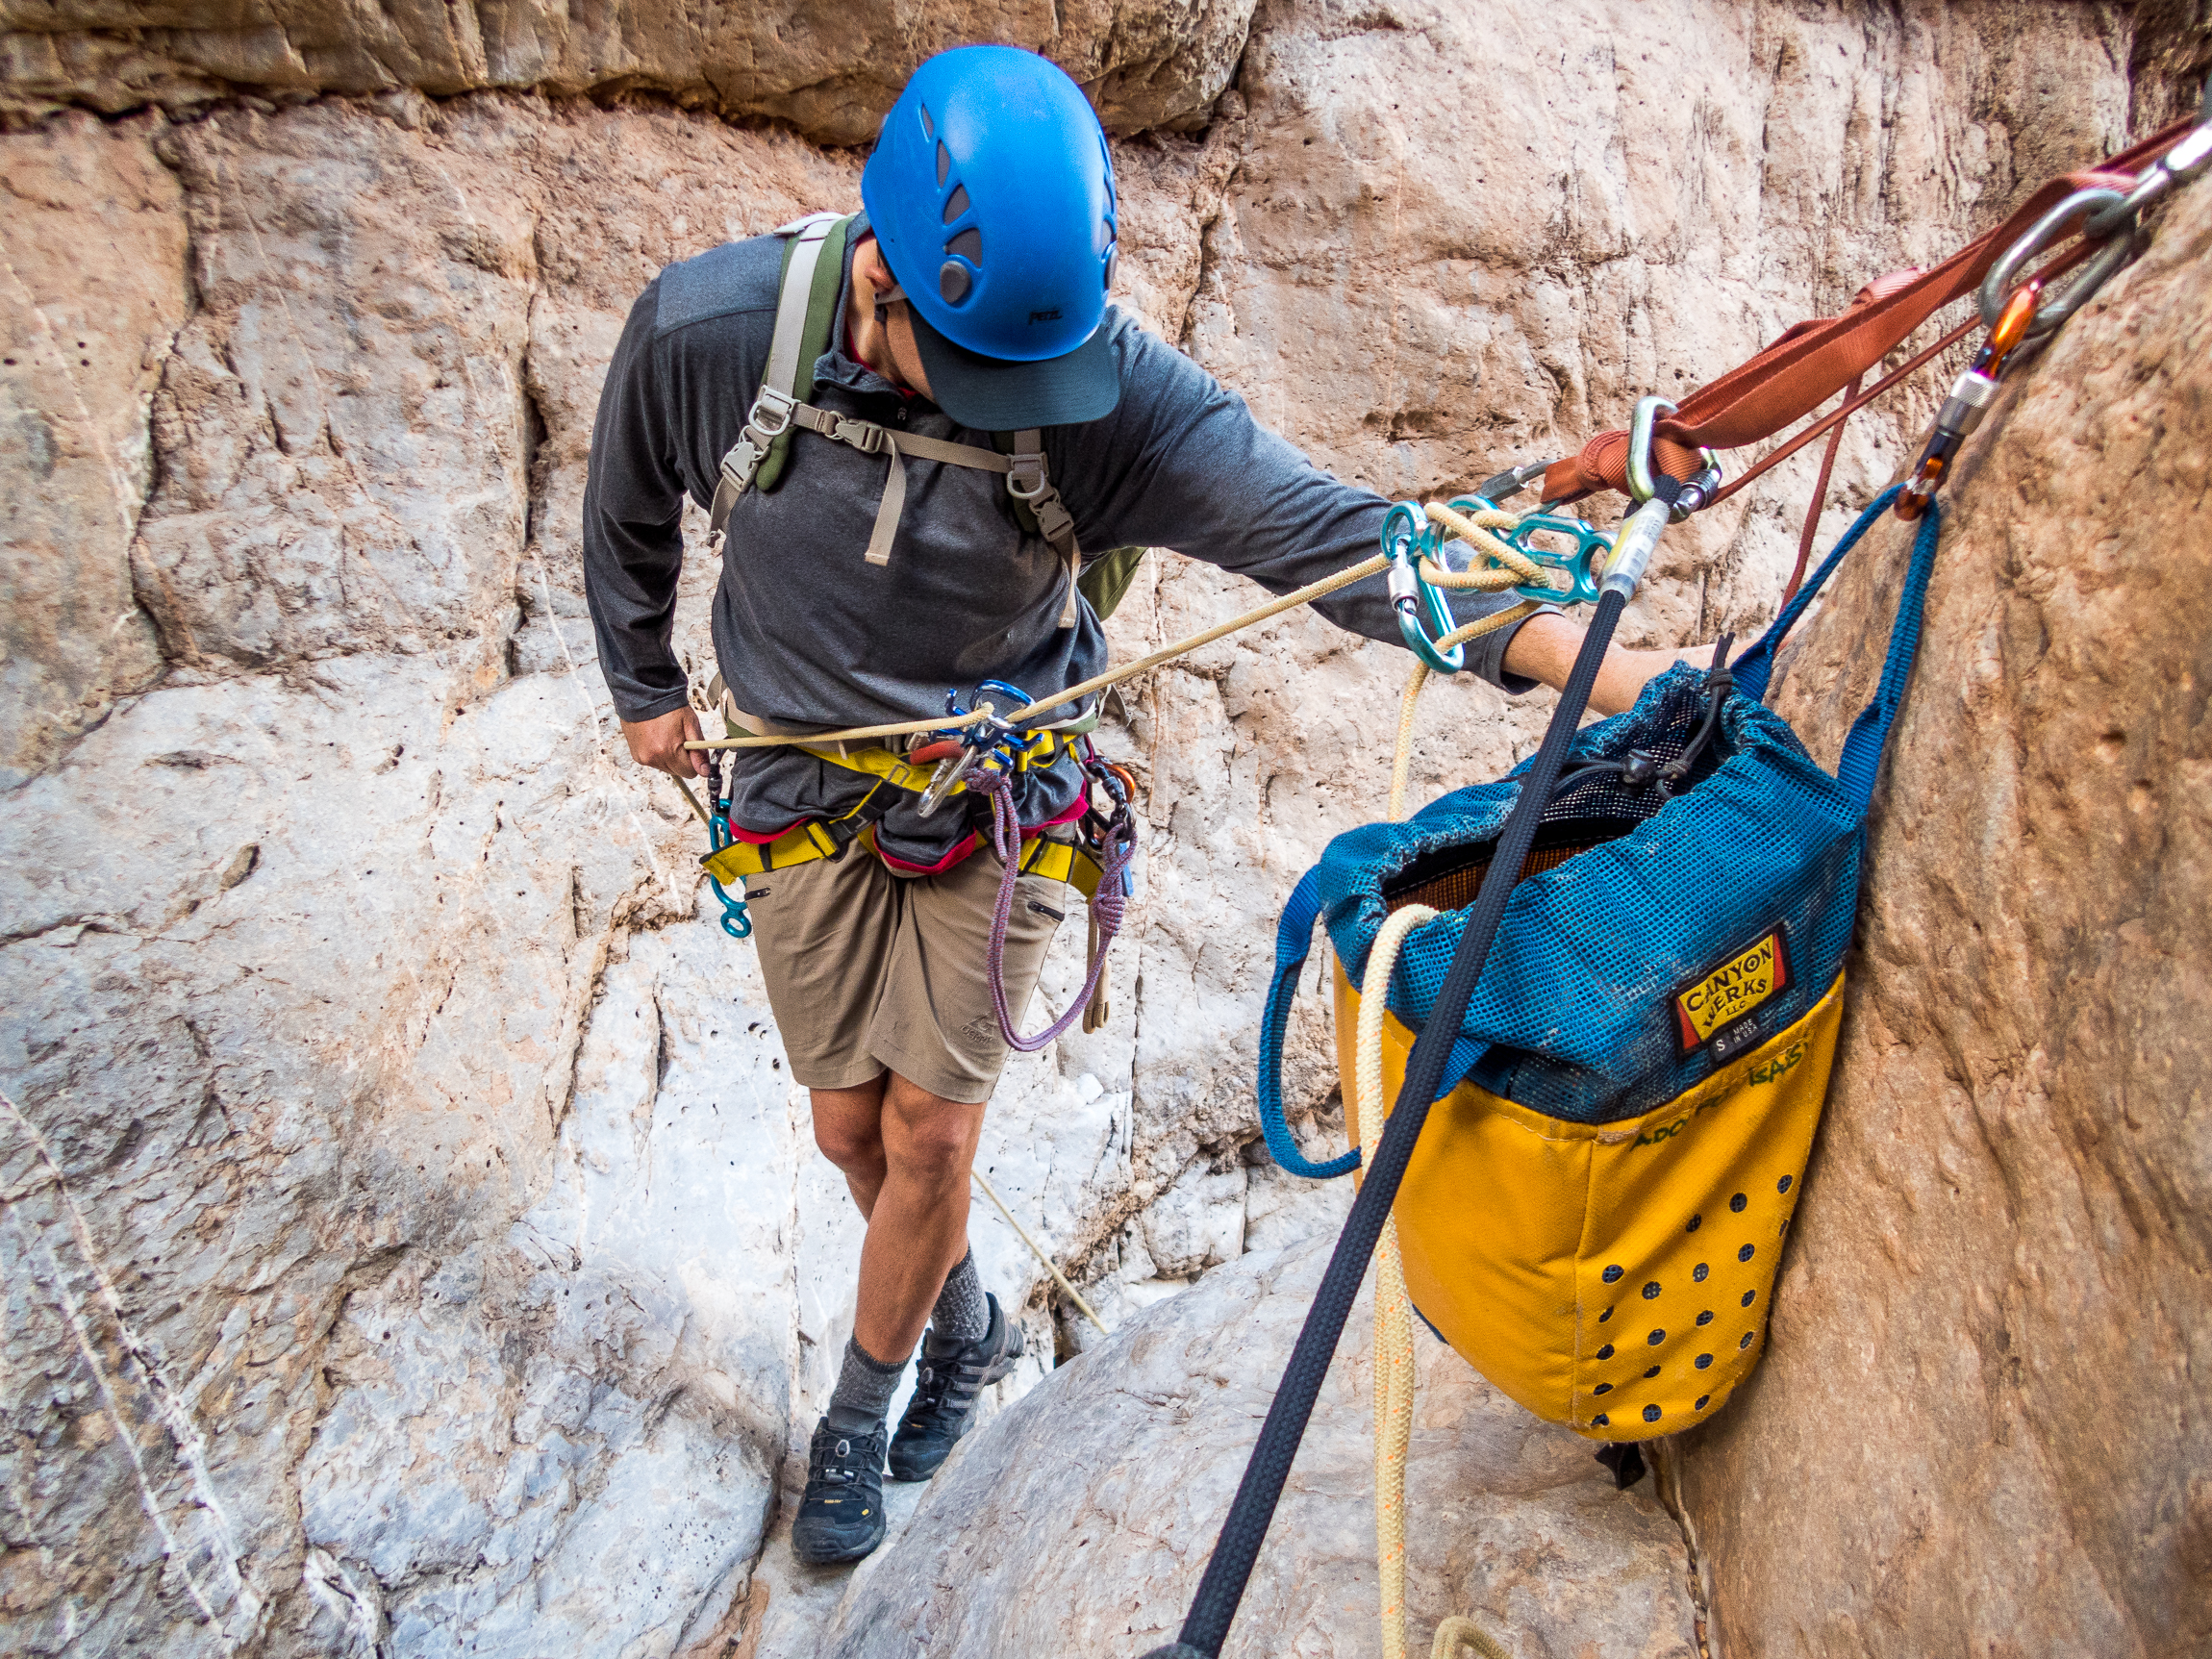
      Cut bad rigging and re-rig
    4. Minimal partner checks. Initial partner checks while gearing up, plus secondary checks at each rappel station should be standard. It’s simple to position a person at rappel stations to check individuals for harness doubleback, locked biners, and loose gear. You’ll be shocked at what you see. Hanging out at the rappel is a much appreciated role, too. You reach over and lock the unlocked gate of a friends carabiner or point to a harness not doubled back, and they look at you like you just saved their life. Which you may have just done.
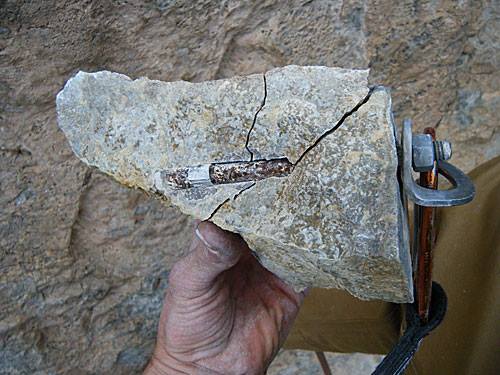
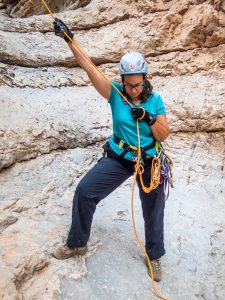
      Team member checks anchor and rigging, you check harness, helmet straps, descender rigging, locked biner, gear check.
    5. Anchor inspection, back-up, and testing. Anchors should be inspected every time. Abrasion points, knots, and impact areas (from flood debris) need to be inspected every time. Back it up with a top belay, test with someone big. If it fails, stop and reevaluate.
      Inspect rock, bolts, hangers, webbing
      Test before rappelling down!
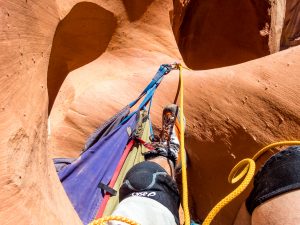
      Marginal anchor? Sequence it, test it, back it up


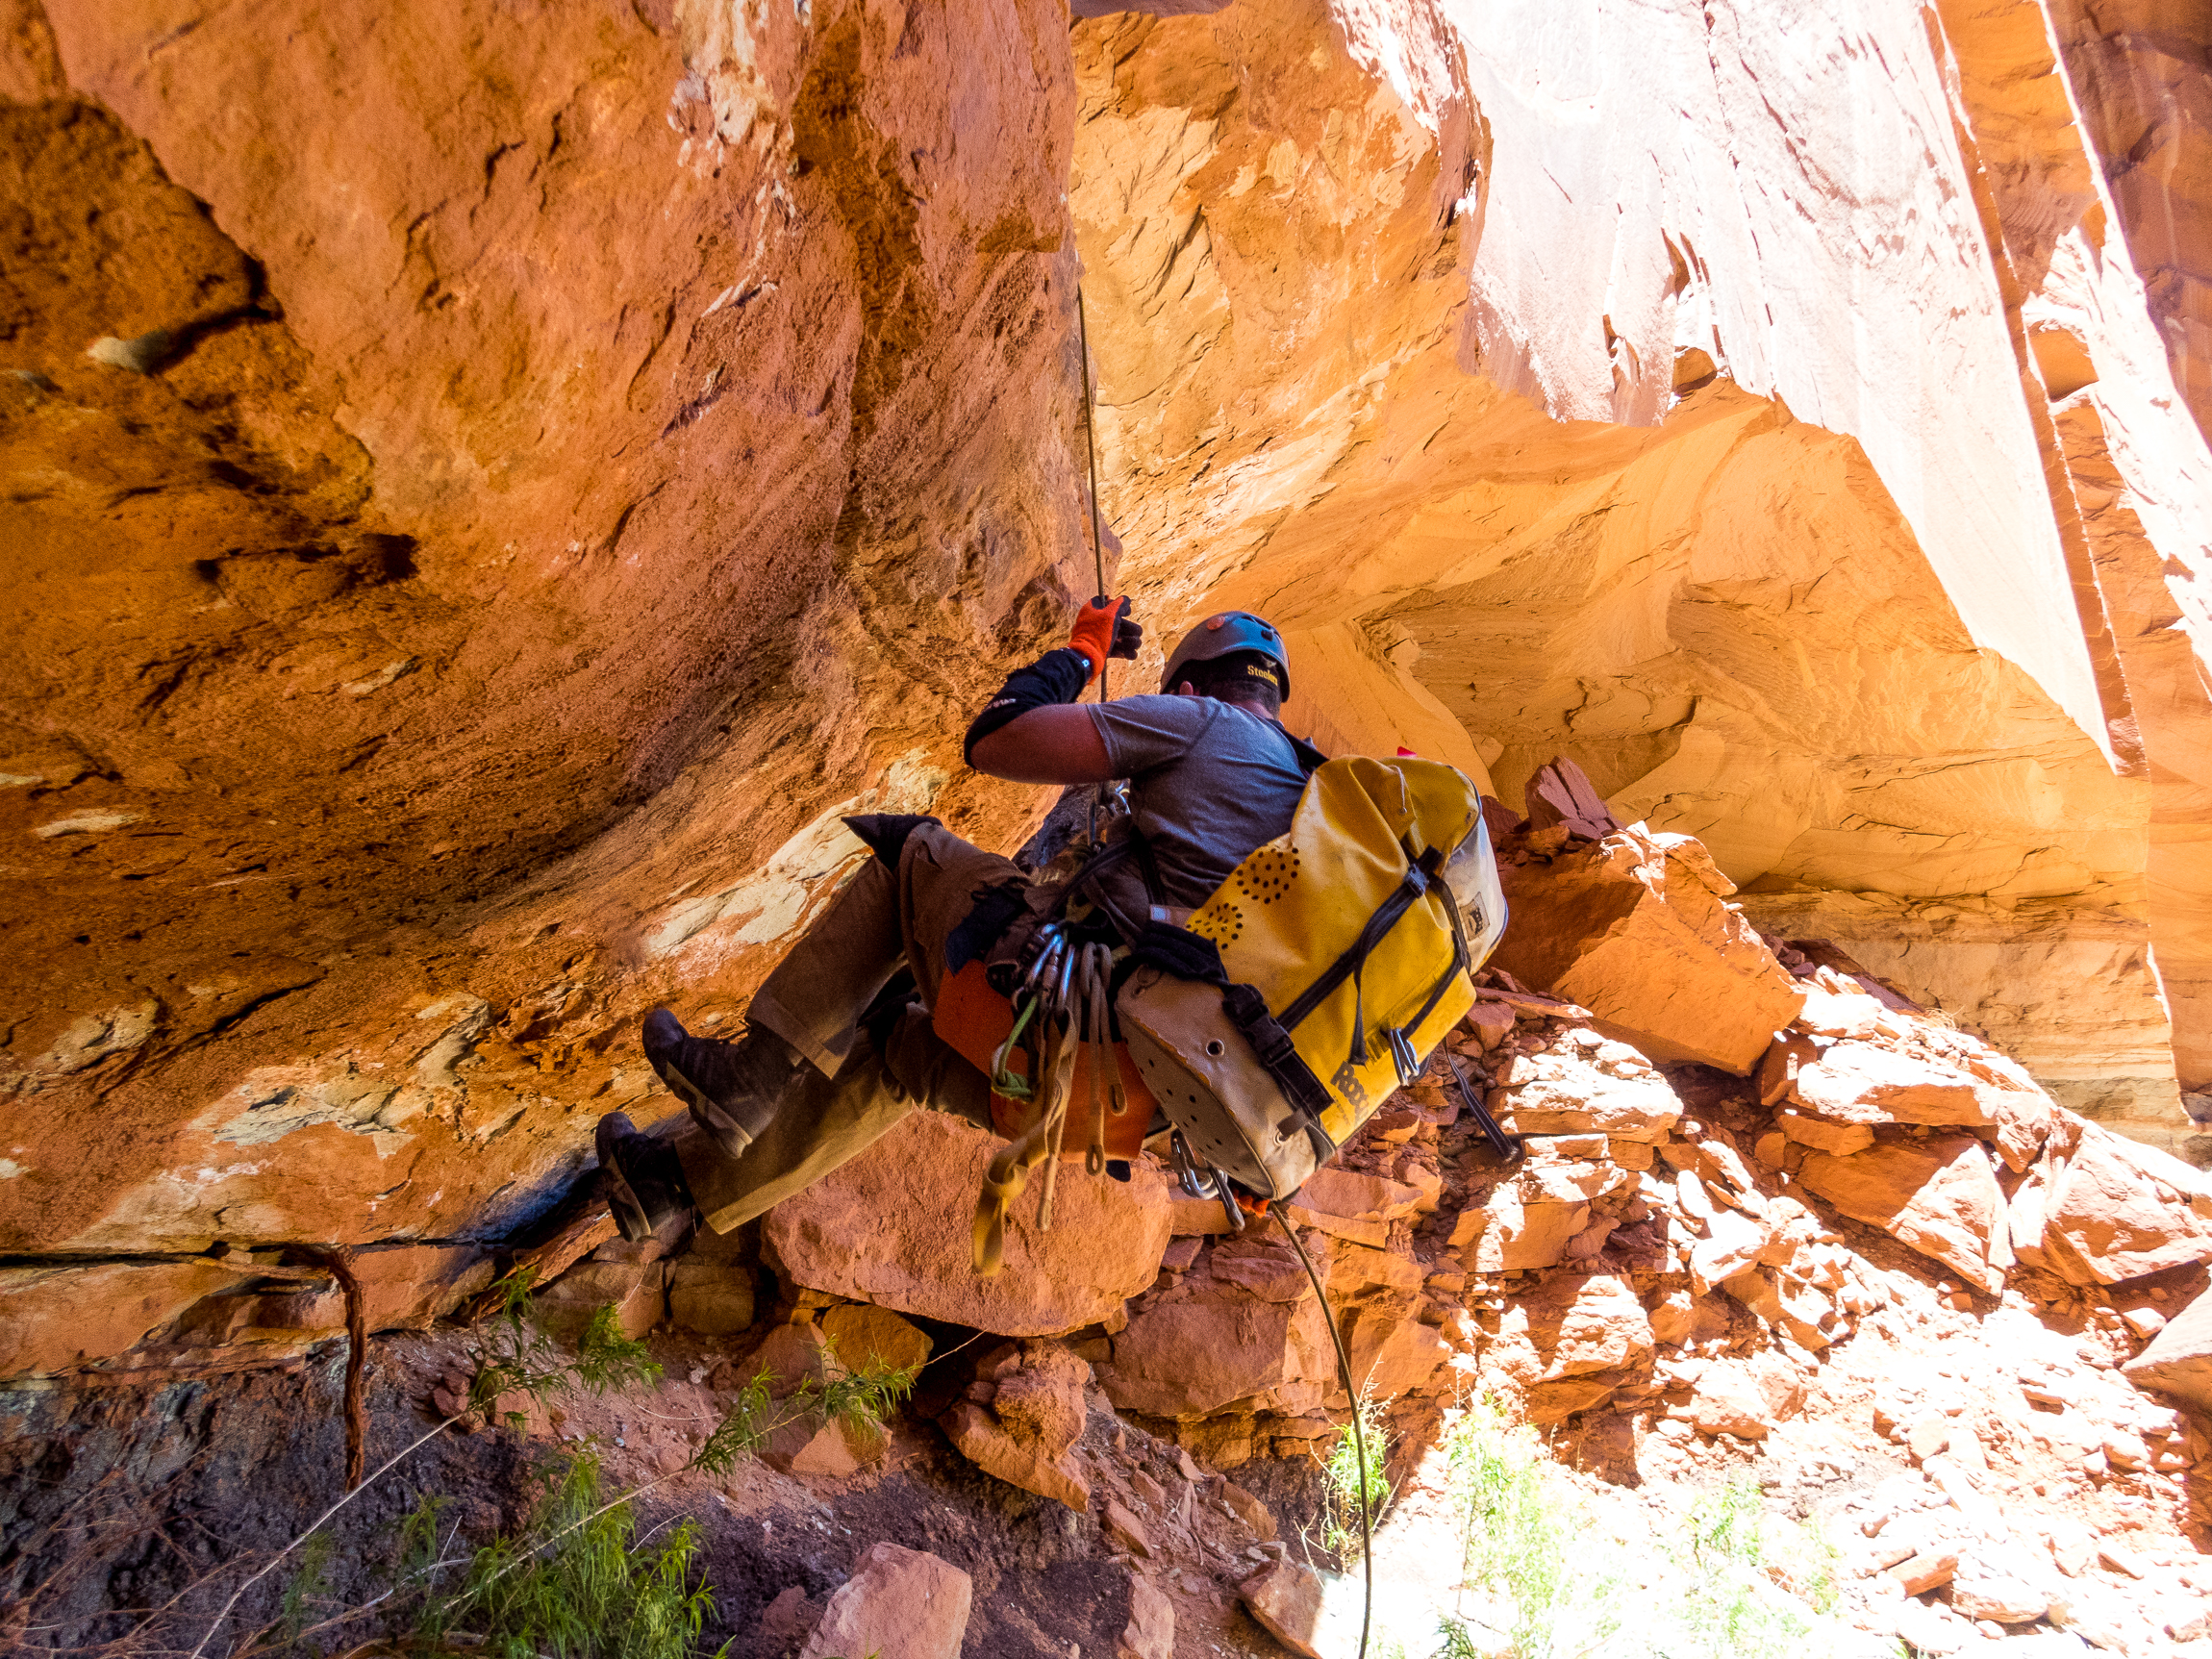
    1. Poor sequencing of ropes/people. Proper sequencing of equipment and assessing human skill sets contributes to the overall safety and experience of the group. Gear and human skill sets is so important.
      Partner sequencing: Tall heavy team members first, light team members last.


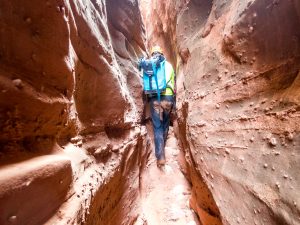
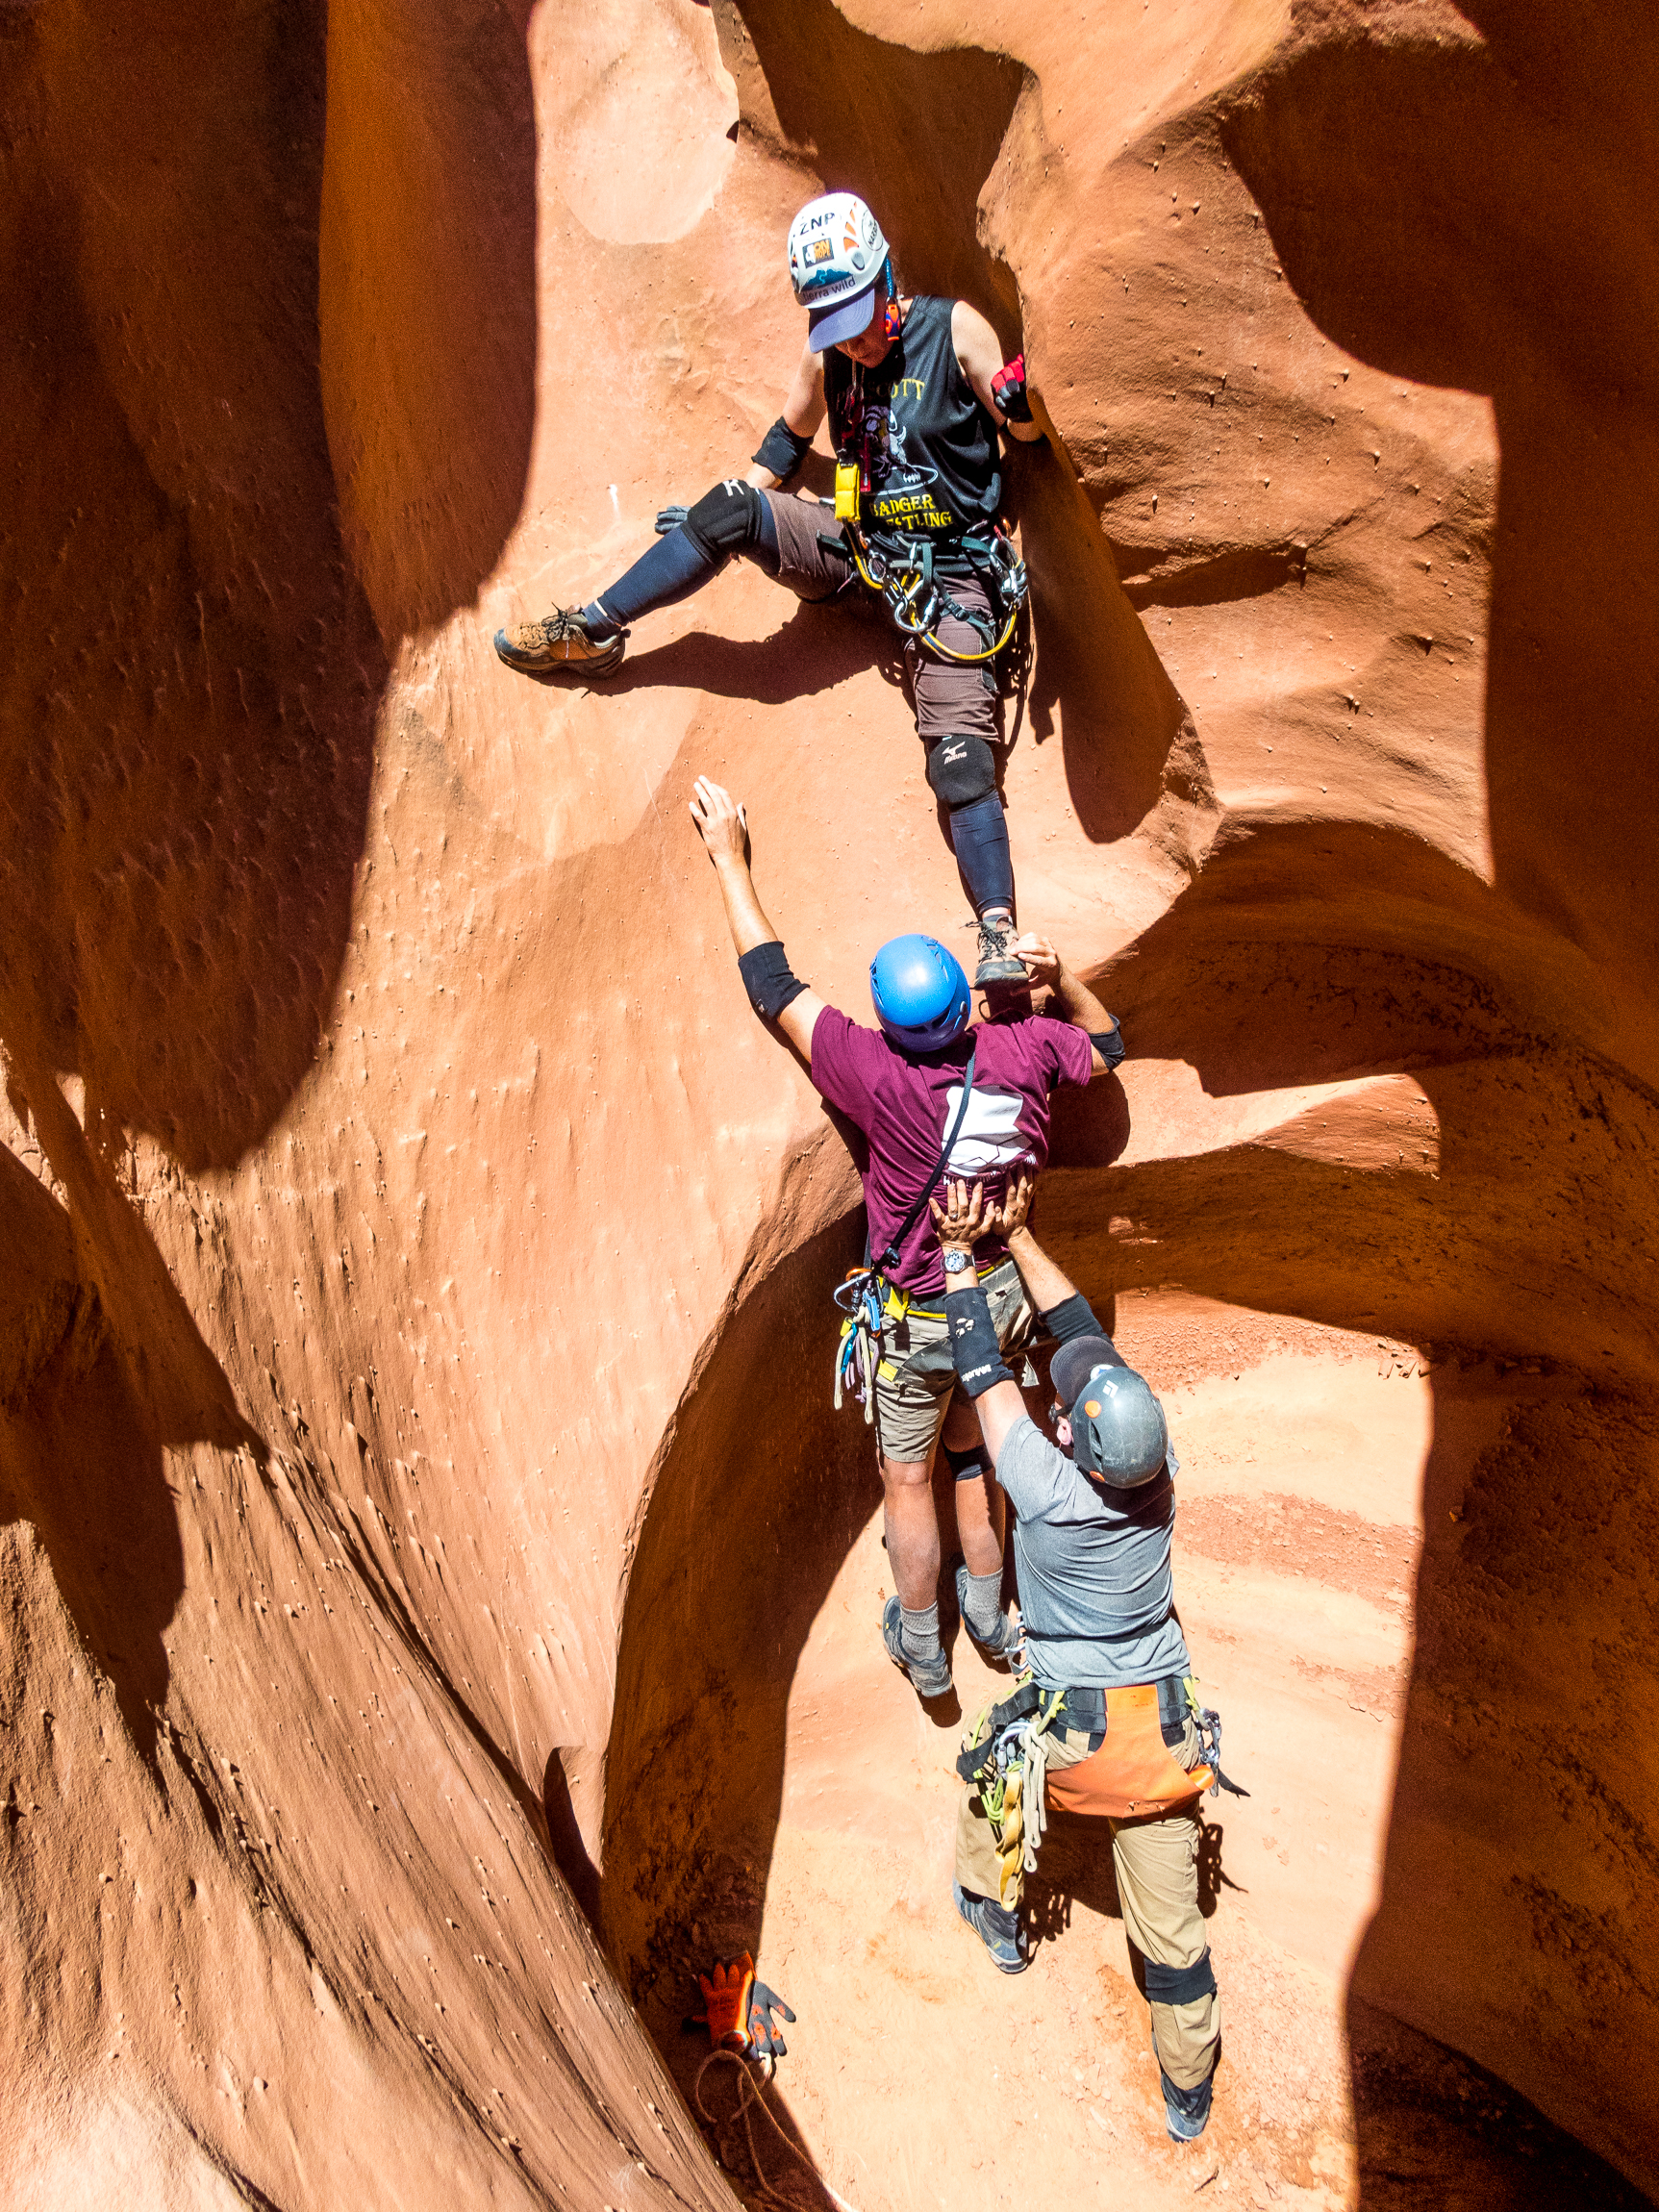
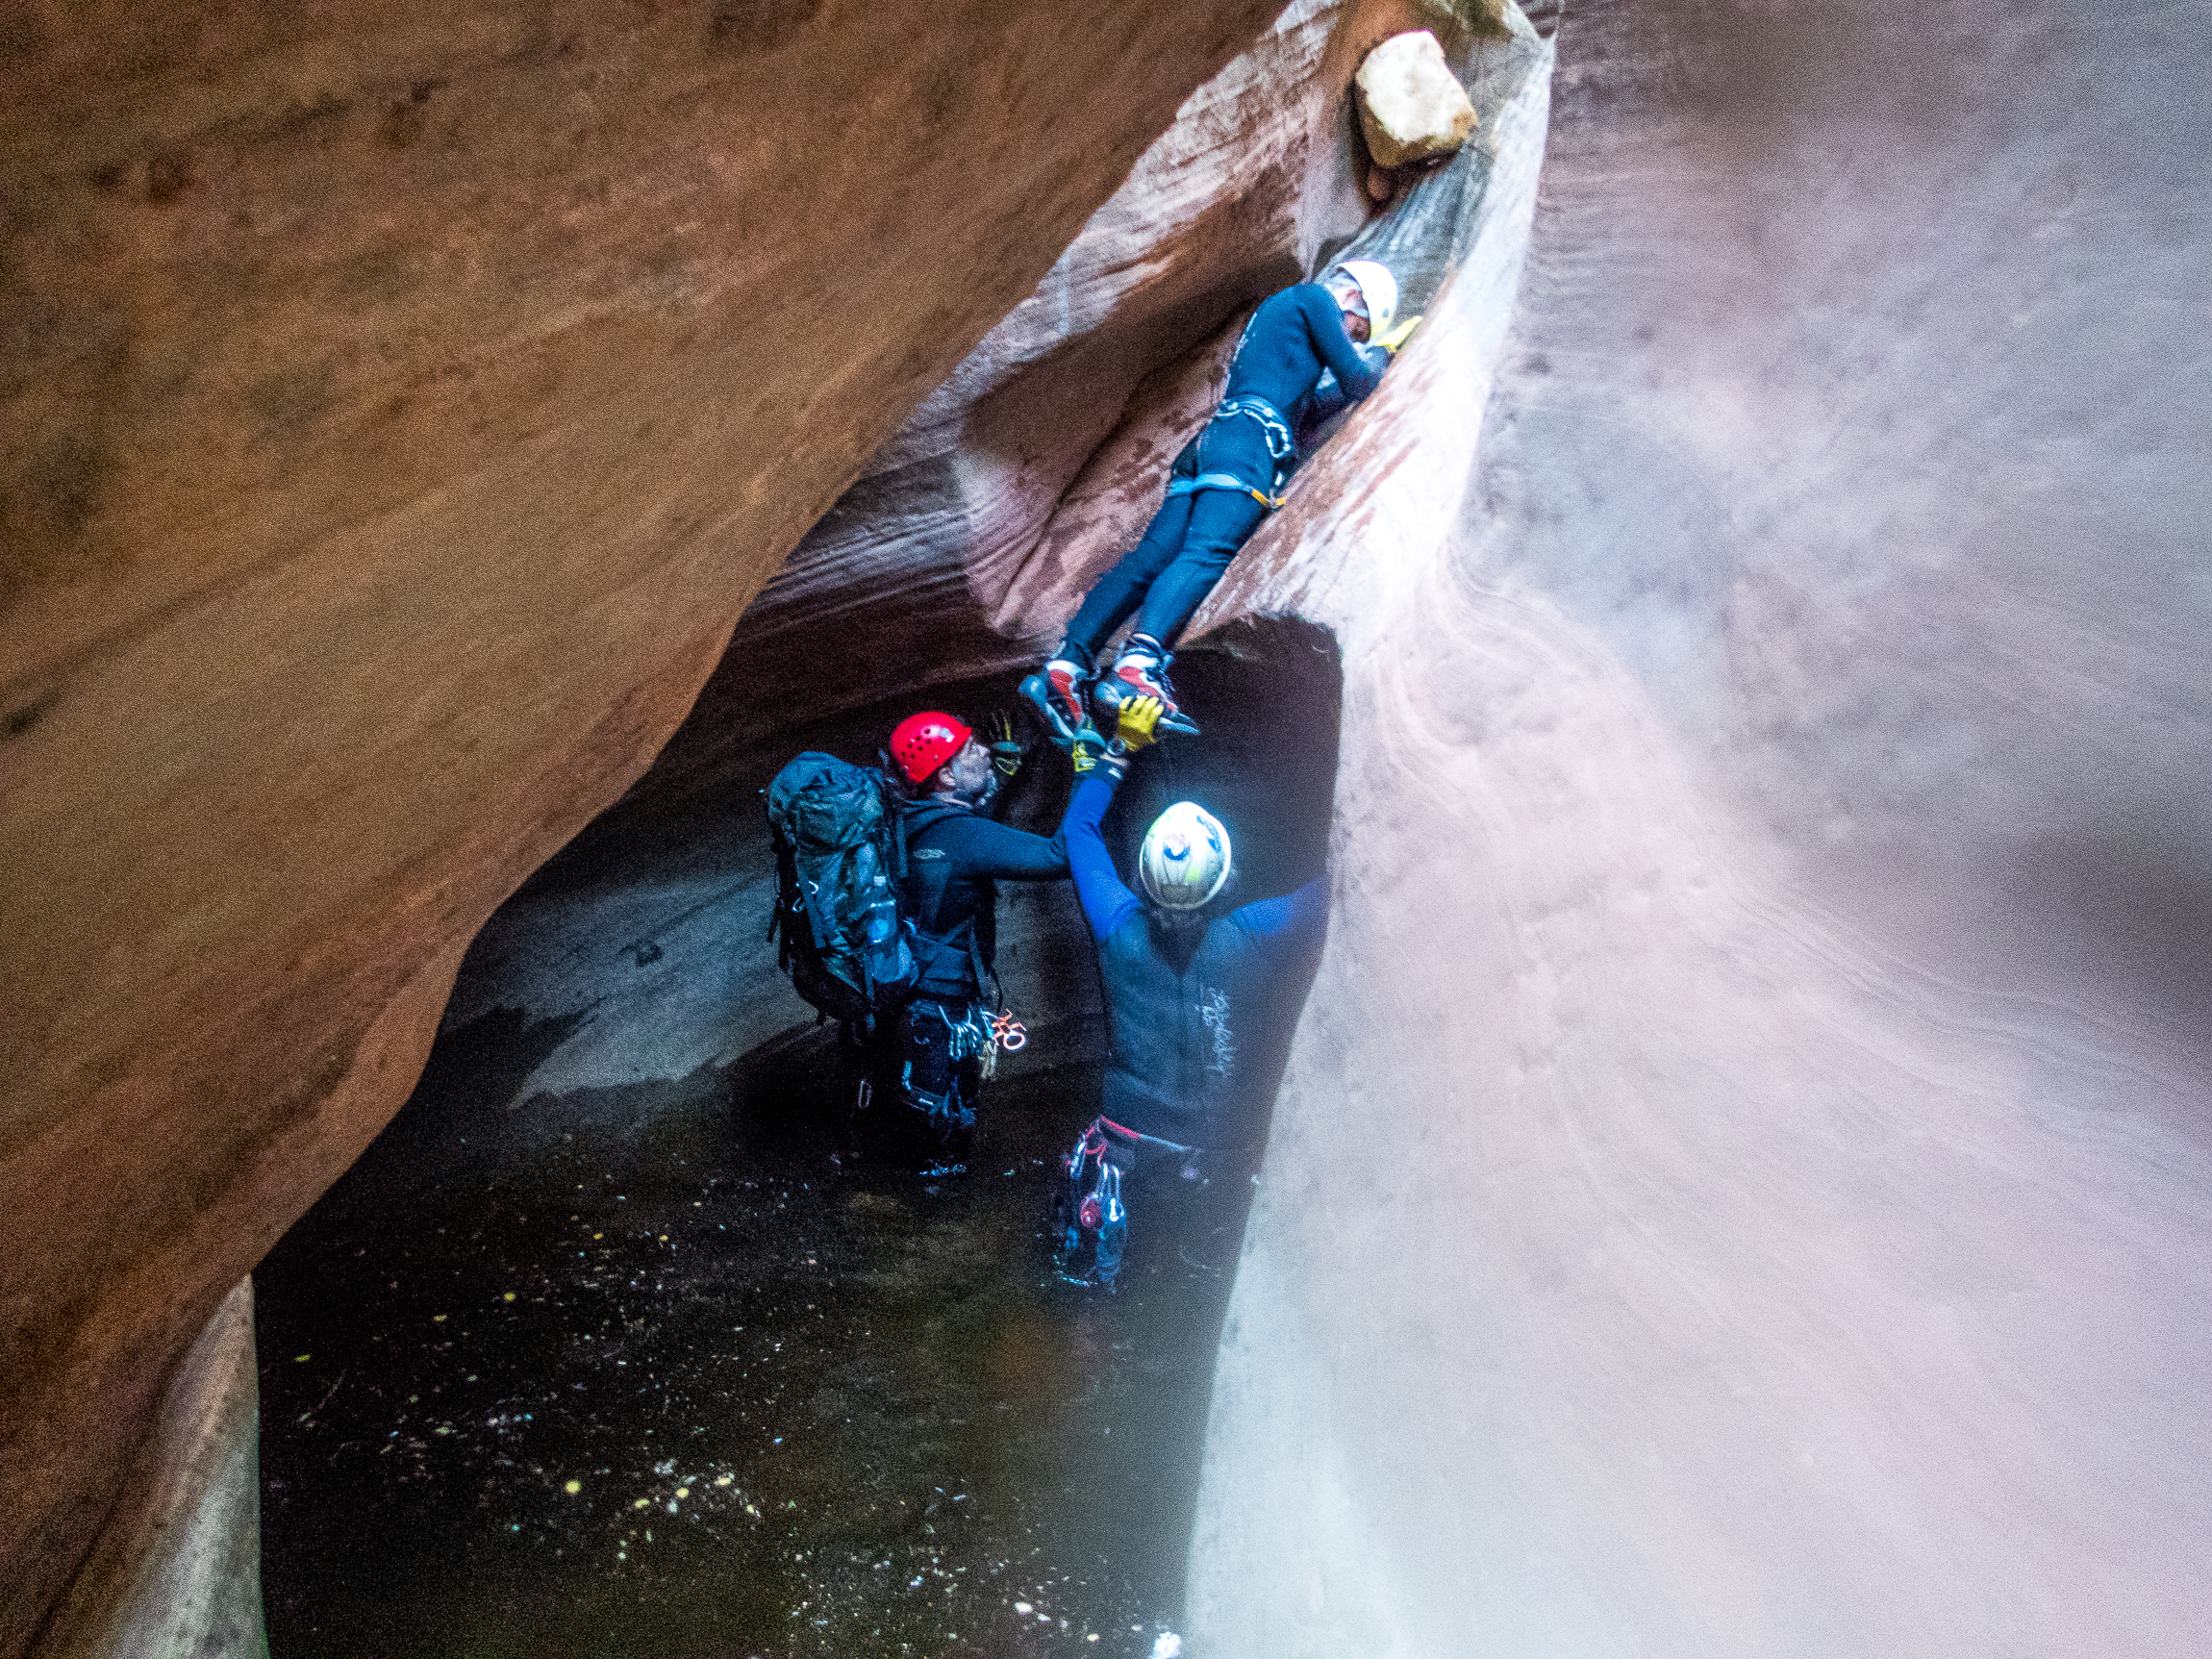
      Team member moving at the front of the group ahead down canyon. Has rope? Ready to rig and set anchors? Good vs. Poor sequencing


    2. Not spotting. It is improving over the days of “don’t touch me” or “I’ve got this” (annoying). The best canyons are done as a team, using partner captures, human ladders, and spotting.

      Spot your partners
    3. Jumping. Unless you are landing in water whose depth has been checked and is sufficient for a safe landing, jumping is really a bad idea.  It’s much better to do a belayed downclimb, get lowered or use a hand-line.  The “penalty points” for jumping not only apply to you, but to the entire group. If someone sprains an ankle (or worse) on a trip, the whole team will suffer. Jumping is bad form!
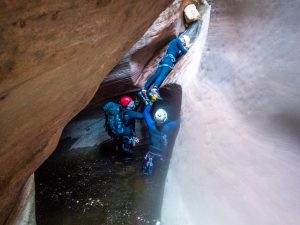
               Was that pool deep enough to jump? No.


    1. Overreliance on beta.  Location, technical ratings, conditions, exits, weather…some of these things can and do change. It is a good idea to rely on sound judgement and common sense when you are in a wilderness environment and not rely solely on what the weatherperson has forecast or what someone “posted” on the internet.  Also bring a good map and compass, electronic devices can get wet and become in-operational or end up in an unretrievable location.
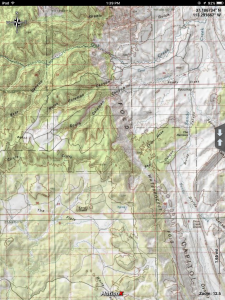
      Learn to work with topo maps, coordinates, bearings, scales.
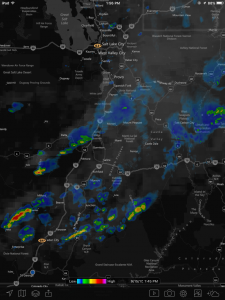
      Learn to read weather forecasts.

Heat Related Illnesses

heat-stroke
What Are Heat-Related Illnesses?

Prolonged or intense exposure to hot temperatures can cause heat-related illnesses such as heat exhaustion, heat cramps, and heat stroke (also known as sun stroke). As your body works to cool itself under extreme or prolonged heat, blood rushes to the surface of your skin. As a result, less blood reaches your brain, muscles, and other organs. This can interfere with both your physical strength and your mental capacity, leading, in some cases, to serious danger.

By reducing excessive exposure to high temperatures and taking other precautionary steps, most heat-related illnesses can be avoided. Those who work in hot or humid environments — such as manufacturing plants, bakeries, or construction sites during summer months — are most at risk. However, even long, hot afternoons at the beach can pose problems if warning signs are ignored.

With prompt treatment, most people recover completely from heat-related illness. However, heat stroke can be deadly if not properly managed.


What Causes Heat-Related Illnesses?

Heat-related illness can strike anyone. But chronic alcoholics, the elderly, the young, the obese, and individuals whose immune systems may be compromised are at greater risk, as are individuals taking certain drugs, such as antihistamines, antipsychotic medications, and cocaine. High humidity also increases the risk of heat illness because it interferes with the evaporation of sweat, your body’s way of cooling itself.

Heat exhaustion, heat cramps, and heat stroke all occur when your body cannot cool itself adequately. But each is slightly different.

Heat exhaustion occurs when the body loses large amounts of water and salt through excessive sweating, particularly through hard physical labor or exercise. This loss of essential fluids can disturb circulation and interfere with brain function. Individuals who have heart, lung, or kidney problems or are on low-sodium diets may be particularly susceptible to heat exhaustion.

As in heat exhaustion, heat cramps can strike when the body loses excessive amounts of fluids and salt. This deficiency, accompanied by the loss of other essential nutrients such as potassium and magnesium, typically occurs during heavy exertion.

Heat stroke, the most serious of the heat-related illnesses, occurs when the body suffers from long, intense exposure to heat and loses its ability to cool itself. In prolonged, extreme heat, the part of the brain that normally regulates body temperature malfunctions. This decreases the body’s ability to sweat and, therefore, cool down. Those who have certain medical conditions that decrease the body’s ability to sweat — such as scleroderma or cystic fibrosis — may be at greater risk of developing heat stroke.


WebMD Medical Reference

5 Tips for Better Balance

how_to_balance-600x337

1. Find your center of balance

If you don’t know where your center of gravity is, you will always be fighting it. Remove a limb and your normal center of gravity goes right out the window. When I started climbing again, I kept tipping to the right since my prosthetic leg was so much lighter than my leg before. Most of us climb in an X-shape or a modification of the three points of contact idea, but when you lose a leg, you can’t do that anymore. One trick I learned was to hang a long draw (at least 24”) on the belay loop of my harness. Climb up and the carabiner will swing between your legs and let you know where your center is. Make moves that put the draw hanging straight down between your legs. As you reach stances and particular holds, make slight adjustments to see the difference between feeling in balance and out of balance. Over time, it will become innate, and you will be able to anticipate and mitigate swings. This will make you more efficient in your movement.


2. Keep it weird

When you first start climbing, you can get by with your toes pointed straight at the rock or “froggie style,” using the inside edges of your feet and toes, heels angled slightly toward each other. As you progress and get onto harder climbs, these positions alone are not enough to work through technical, balance-intensive sequences. Three more moves will open up a whole new chapter in your climbing: back-steps, flags, and drop-knees. All three shift the position of your hips (and thus your center of balance), providing more options.


3. Climb one-legged

Try it! Hop or pogo with your leg when moving hold to hold. Turn your hips and core to counteract the balance. Hang low on your arms, bend at the knee, then in one fluid motion, rise up to the next handhold. As your hand reaches it, hop your foot to the next foothold. Be sure to identify the holds before you go; that way you can focus on being accurate. At first you will find that your body will tip to the legless side. Just let that happen and use the momentum it creates to propel you up. If you are having trouble controlling the swing, incorporate this with hanging a draw between your legs. Combining these two exercises will help you actually see how you have to adjust, and you can visualize and execute the particular movement needed. Don’t do big moves and don’t crank yourself up tight into a lockoff; this will only tire you out quickly and potentially hurt you. Instead, focus on smaller movements that will allow you to rest and counter the swing with your active leg.


4. Use your whole body

Too often we focus on pulling in with just our arms or stepping up with just a leg, when in reality engaging your whole body from fingertips to toes is what you need. A large part of this is your core: obliques, hamstrings, butt, lower back, etc. Think about activating your entire body for every move; you’ll swing less and feel more in control. Another part of this, especially important for trad climbing, is to think of every part of your body as another appendage. I smear my hip and knee onto the rock underneath or to the side. In corners, lean your shoulder against the rock to get a decent rest or to stop a barn door.


5. Avoid staying vertical

We all begin climbing by trying to keep our bodies in a vertical position, but that won’t get you very far as moves get harder and terrain becomes varied. Think about climbing with one leg again, centering over one active foot. Pulling with your upper body to keep your body straight up and down wastes strength. Try letting your hips slide to where your other leg should be; that position should feel more effortless and natural. To move upward, shift your weight back over your active foot, letting the energy from your hips move you to the next hold. To move in the opposite direction, simply stand up as high as possible on your active leg, again letting the momentum come from your hips.


By Craig DeMartino

Need-To-Know Canyon Knots

Check out some of the canyon knots, hitches and bends you need to know from Backcounty.com’s article 7 climbing knots you need to know. Don’t leave home without them.


EURO DEATH KNOT

eurodeathknot

What is it: A knot used for joining two ropes together for a rappel. The Offset Water Knot, otherwise known to climbers by the misleading (and inaccurate) name of “Euro Death Knot” (EDK), is the best knot for joining two ropes together for a rappel.

Why it’s cool: Easy to tie. Easy to untie. Less likely to get hung up on rock features during rappels.

Red Flags/Rules: Leave at least 8 to 12 inches of tail.

How to Tie it


FIGURE-8 RETRACED

figure8

What is it: The basic knot for “tying in”—i.e., for tying the rope to your harness.

Why it’s cool: Easy to inspect. Easy (enough) to untie after being loaded in a fall.

Red flags/Rules: Always have at least six inches of tail

How to Tie it


GIRTH HITCH

girth-hitch

What is it: A knot for tying climbing slings to various features including: the belay loop of your harness, bolt hangers at anchors, and “threads” of rock, horns/chicken heads on trad routes.

Why it’s cool: Easy to tie, can be tied with one hand, and is useful in many situations.

Red Flags/Rules: Don’t leave slings girth-hitched to your harness belay loop for extended periods of time.

How to Tie it


CLOVE HITCH

clove-hitch

What is it: A knot for quickly tying a climbing rope to a carabiner. Great for tying yourself in to an anchor. Also the clove hitch is especially handy when equalizing an anchor using the rope.

Why it’s cool: Easy to tie and untie after being weighted. Easy to adjust after being tied. Can be tied with one hand, allowing you to quickly clip to an anchor or bolt.

Red Flags/Rules: At a certain force, clove hitches will begin to slip, which is why they aren’t recommended as the sole knot for tying yourself into an anchor, and they are best paired with another knot such as a Figure-8 on a bite. However, it’s virtually impossible to ever generate a large-enough and consistent-enough force to cause the clove hitch to slip in a dangerous way.

How to Tie it


MUNTER HITCH

munter

What is it: A knot that allows you to belay or rappel on a rope with nothing more than a single locking carabiner.

Why it’s cool: This knot could save you if you drop your standard belay/rappel device.

Red Flags/Rules: Not recommended for anything other than emergency use. The Munter Hitch severely kinks the rope, especially in a rappel.


PRUSIK

prusik1

What is it: A way to attach a piece of cord to a (thicker) climbing rope. The main use is to back up your rappel device (not covered in article). You can also use a prusik as a way to ascend a rope (if you don’t have a mechanical ascender). There are also a multitude of uses for self-rescue and escaping belays.

Why it’s cool: Easy to tie and untie, and may come in handy more than you’d think. With two prusiks, you can ascend a fixed line, potentially getting yourself out of a pickle.

Red Flags/Rules: Make sure the loops/coils are neat.

How to Tie it


DOUBLE FISHERMAN’S

fishermans

What is it: A knot used for tying two ends of a cord or rope together. Use this knot to create a cordellette (a piece of cord tied into a loop) or to create a prusik.

Why it’s cool: Reliable, safe knot for joining two ends of a rope or cord together.

Red Flags/Rules: This knot will weld itself shut over time, effectively making it impossible to untie. This knot is only to be used for joining two pieces of rope or cord. To join two pieces of tubular webbing, use a water knot (not covered here).

How to Tie it


By Andrew Bishara

http://www.backcountry.com/explore/the-seven-need-to-know-climbing-knots


Wilderness Navigation Basics

There are many parts to wilderness navigation, but four tools stand out as being the most important. First, a good topographical map. Second, a compass. Third, an altimeter. And fourth a GPS unit. Each of these items is a complex tool that takes a great deal of time and energy to use effectively.

The following video, made by the owner of Midwest Mountaineering, Rod Johnson, is a brief overview of the components required for successful wilderness navigation.


The map, the compass, the altimeter and the GPS must all be used in conjunction to one another. A climber should never depend solely on one of these items, but must practice using them as complementary tools.

The best time to practice with navigation tools is when you need them the least. When the weather is good and it is possible to see everything, then there is little need for these. But when the weather is good, it is also possible to see what real-life features look like on a map. Understanding what the real-world looks like vs. the world in a white-out when you are completely reliant on your understanding of your tools is incredibly important. If you can get your systems worked out in perfect weather, then you’ll be ready for it when things are less than perfect…

By: Jason D. Martin

http://blog.alpineinstitute.com/2016/08/wilderness-navigation.html?m=0

Comfort Zone

Topick.Hket

Ok, so none of us here can read Chinese either. But we do know what this article is about. Our students in Hong Kong are committed to using canyoneering as a vehicle to challenge kids and others to get out of their comfort zone and challenge themselves to be the best they can be.

Kudos guys!

1 2 3 4 5 6